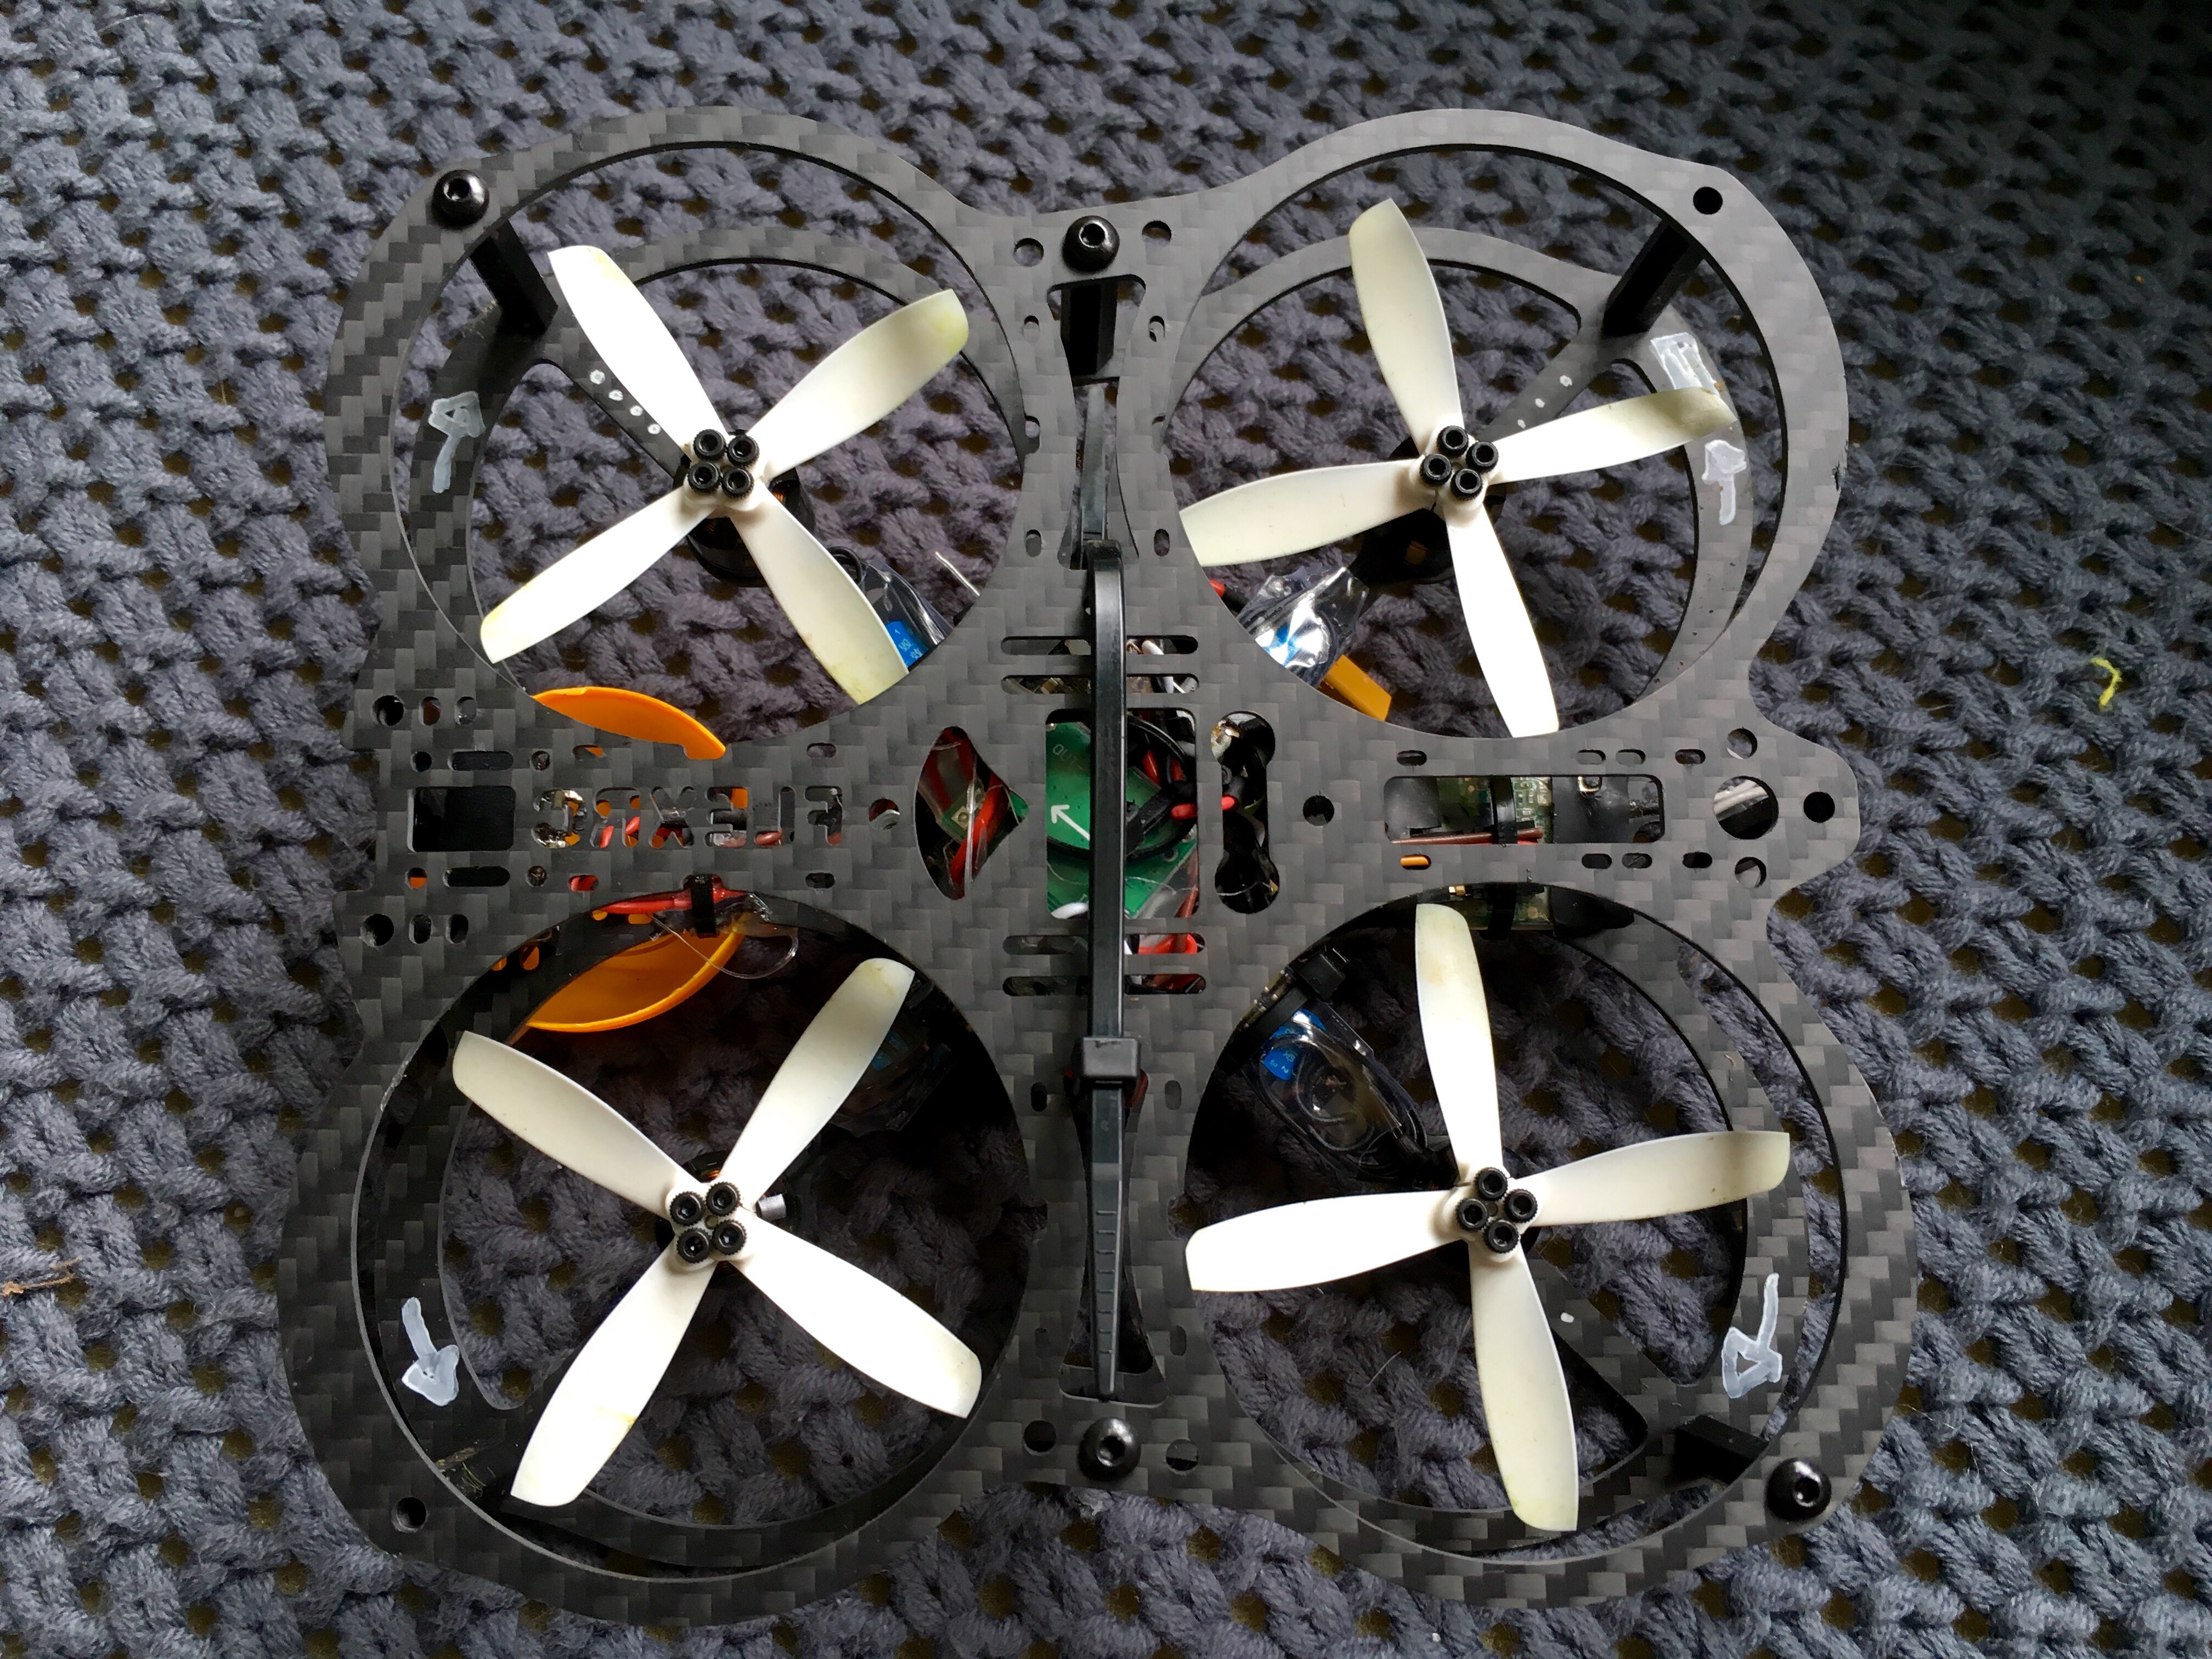
Two 90mm 5V PC fans, 6.5mm birch plywood.
Two 90mm 5V PC fans, 6.5mm birch plywood.
No self-milled or 3D-printed parts here. Just for the setup:
Camera: http://www.ebay.com/itm/252416912486 (FX797T 40CH 5.8G Mini Transmitter TX with 700TVL, 120 degrees, 4.5gr)
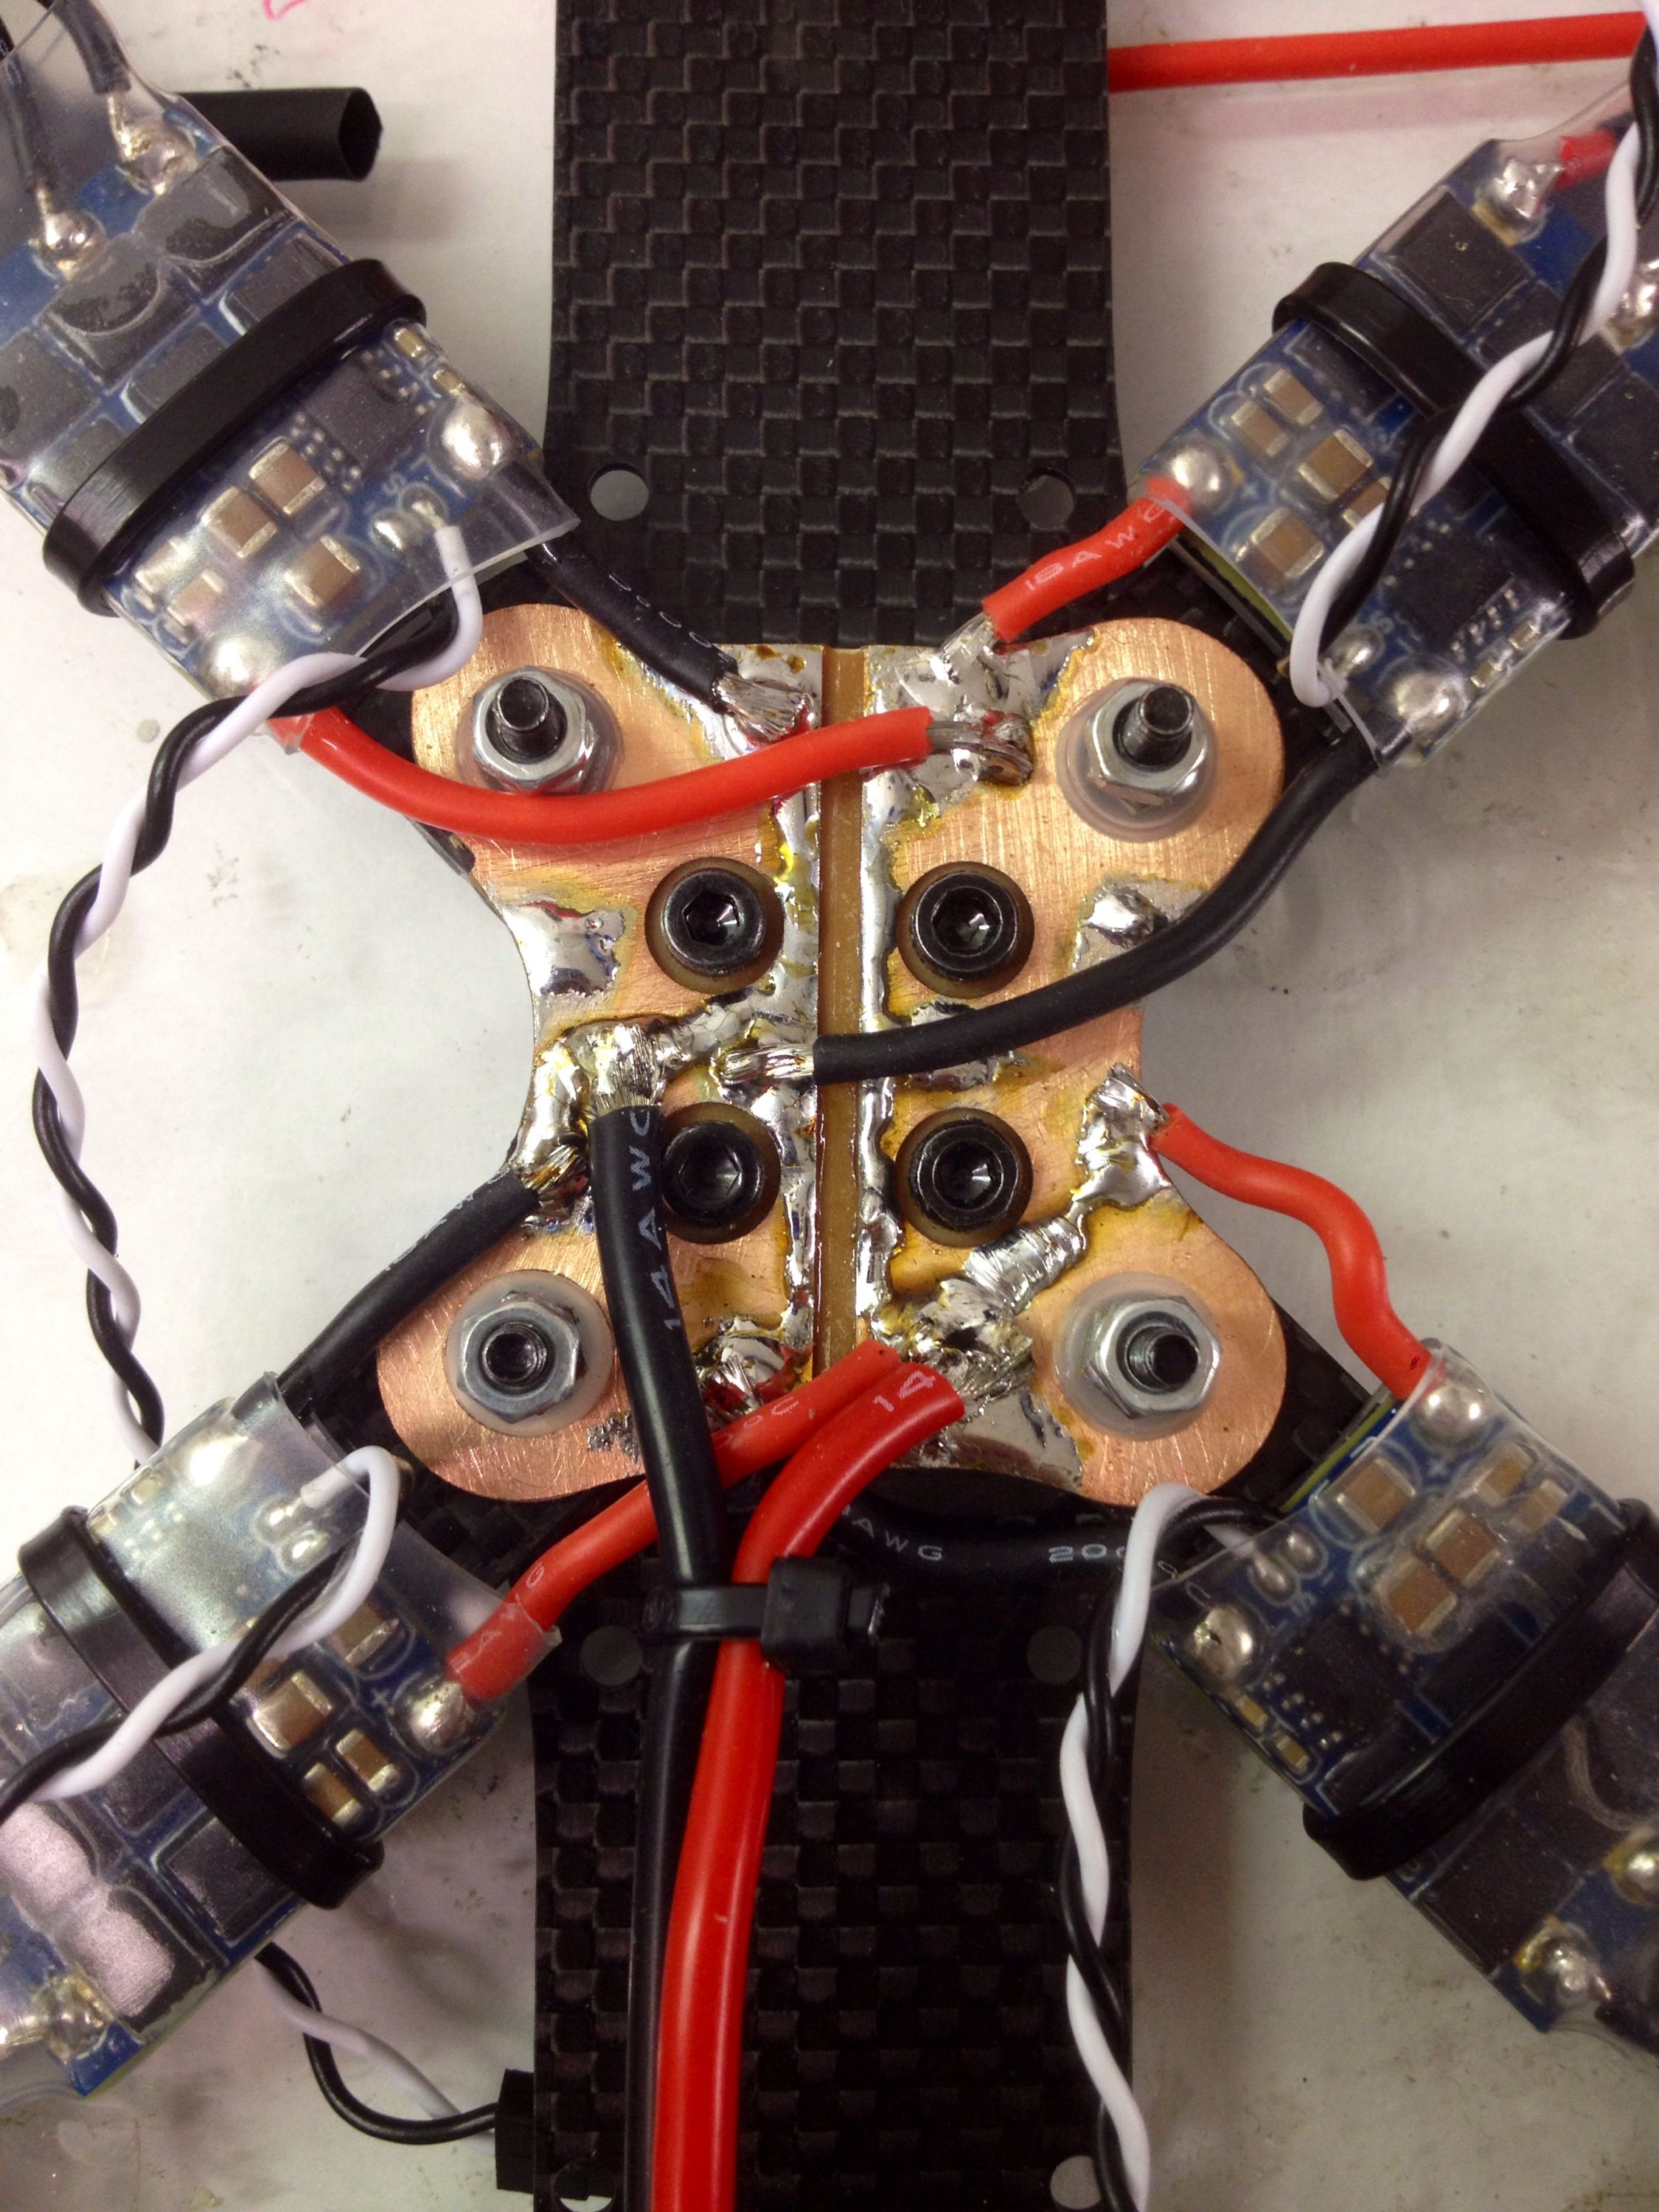
Body: http://armattanproductions.com/pages/kit_detail/273 (two plates 31gr +spacers+nuts)
Motors: DYS BE1104 6500kv Brushless Motor (about 6gr)
ESCs: Sunrise model Cicada BlHeli-S 15A 2-4S
Props: https://flexrc.com/product/rotorx-rx2535w-props-8-cw-8-ccw/ (63mm in dia)
FC: Naze32 (betaflight 2.9, default PIDs worked fine!)
Total weight without battery: 130gr + battery approx 40gr
Outer diameter: 155mm x 155mm x 28mm (without camera dome)
M2M: 110mm
Flight Time: 370mAh 3S: 3min 20sec, charged 360mAh = Average current 6.7A (1.675A per motor)

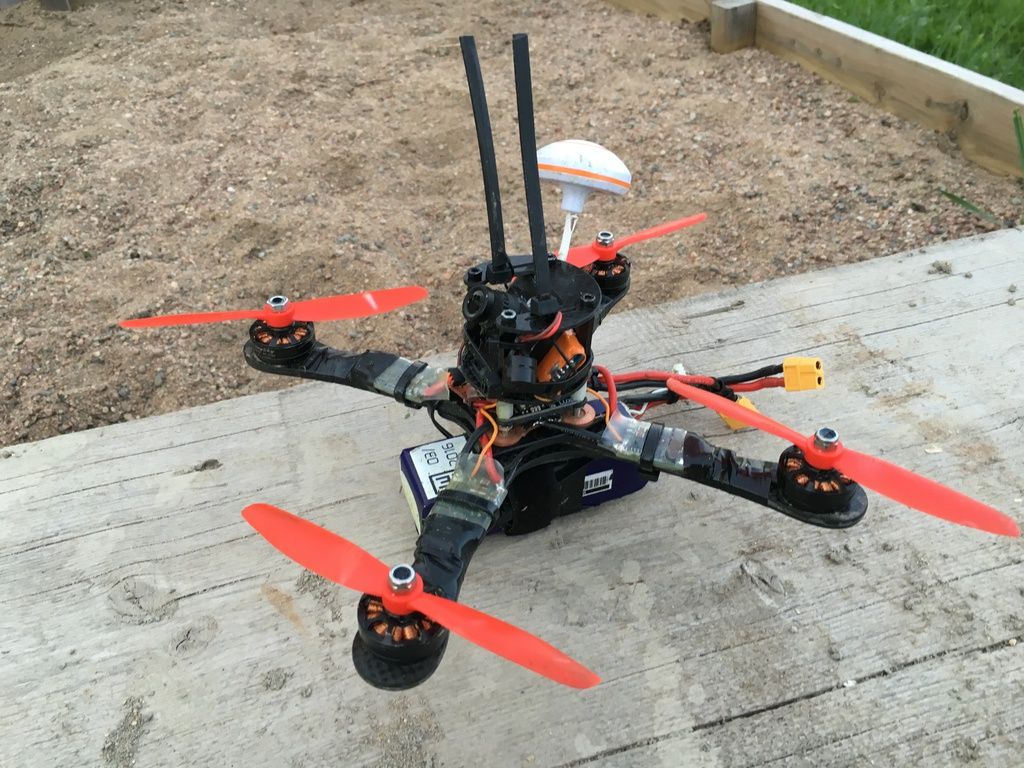
This is a reincarnation of my alien-clone. The arms+motors+ESCs were transferred from old quad. Middle plates were milled only. Got this idea on saturday evening, maidened on monday-evening. Fastest quad I’ve had so far by all means, it also flies quite fast!
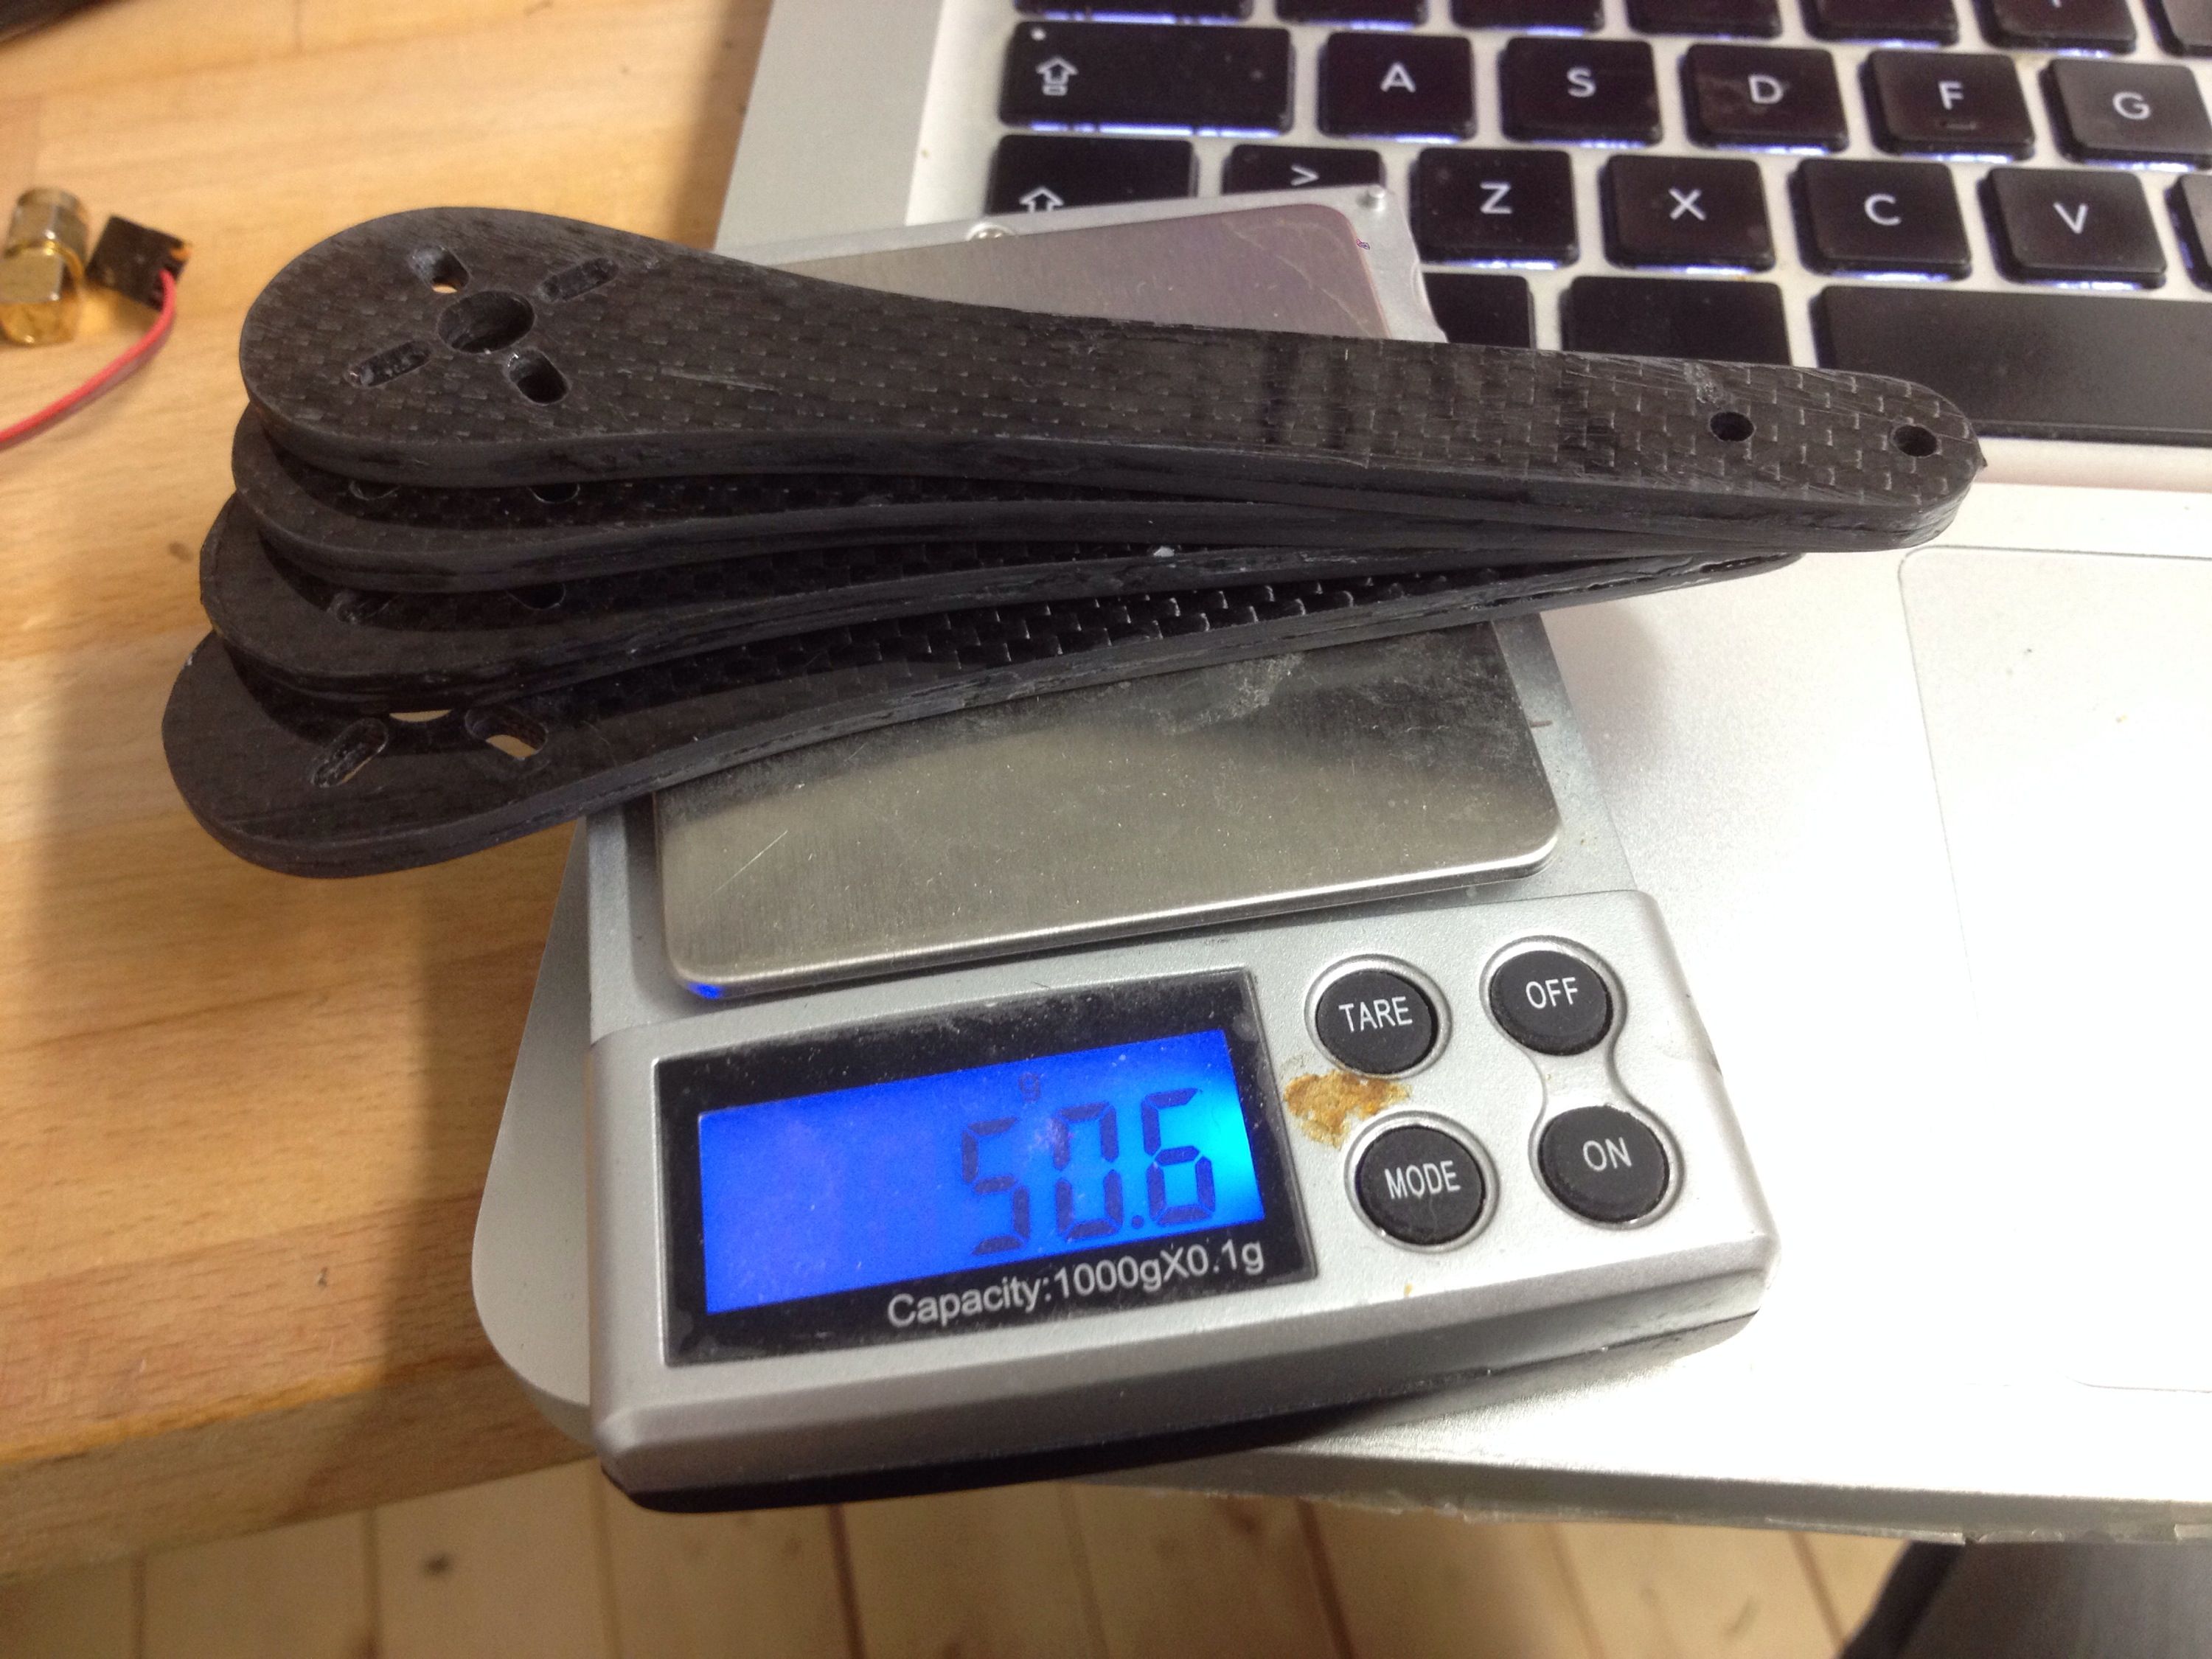
Arms 4mm thick, 14mm wide. Base plates 3mm thick. FC luxx with non-released betaflight 2.7, default PIDs. Camera angle: 35deg (angle at it’s max limit IMHHO, my personal preference would be 30deg). Motors SunnySky 2204 2300kv, rotorgeeks 20A escs.
Measured speed with Stalker radar gun (4S2-blade 5″ dalprop): 120-125km/h (at the same time – about same setup Vortex Pro: max 100km/h)


Practice track video:
https://www.youtube.com/watch?v=-jY2NqMvOaU&feature=youtu.be&t=1m9s

Maiden flights 6.6.2016
Power
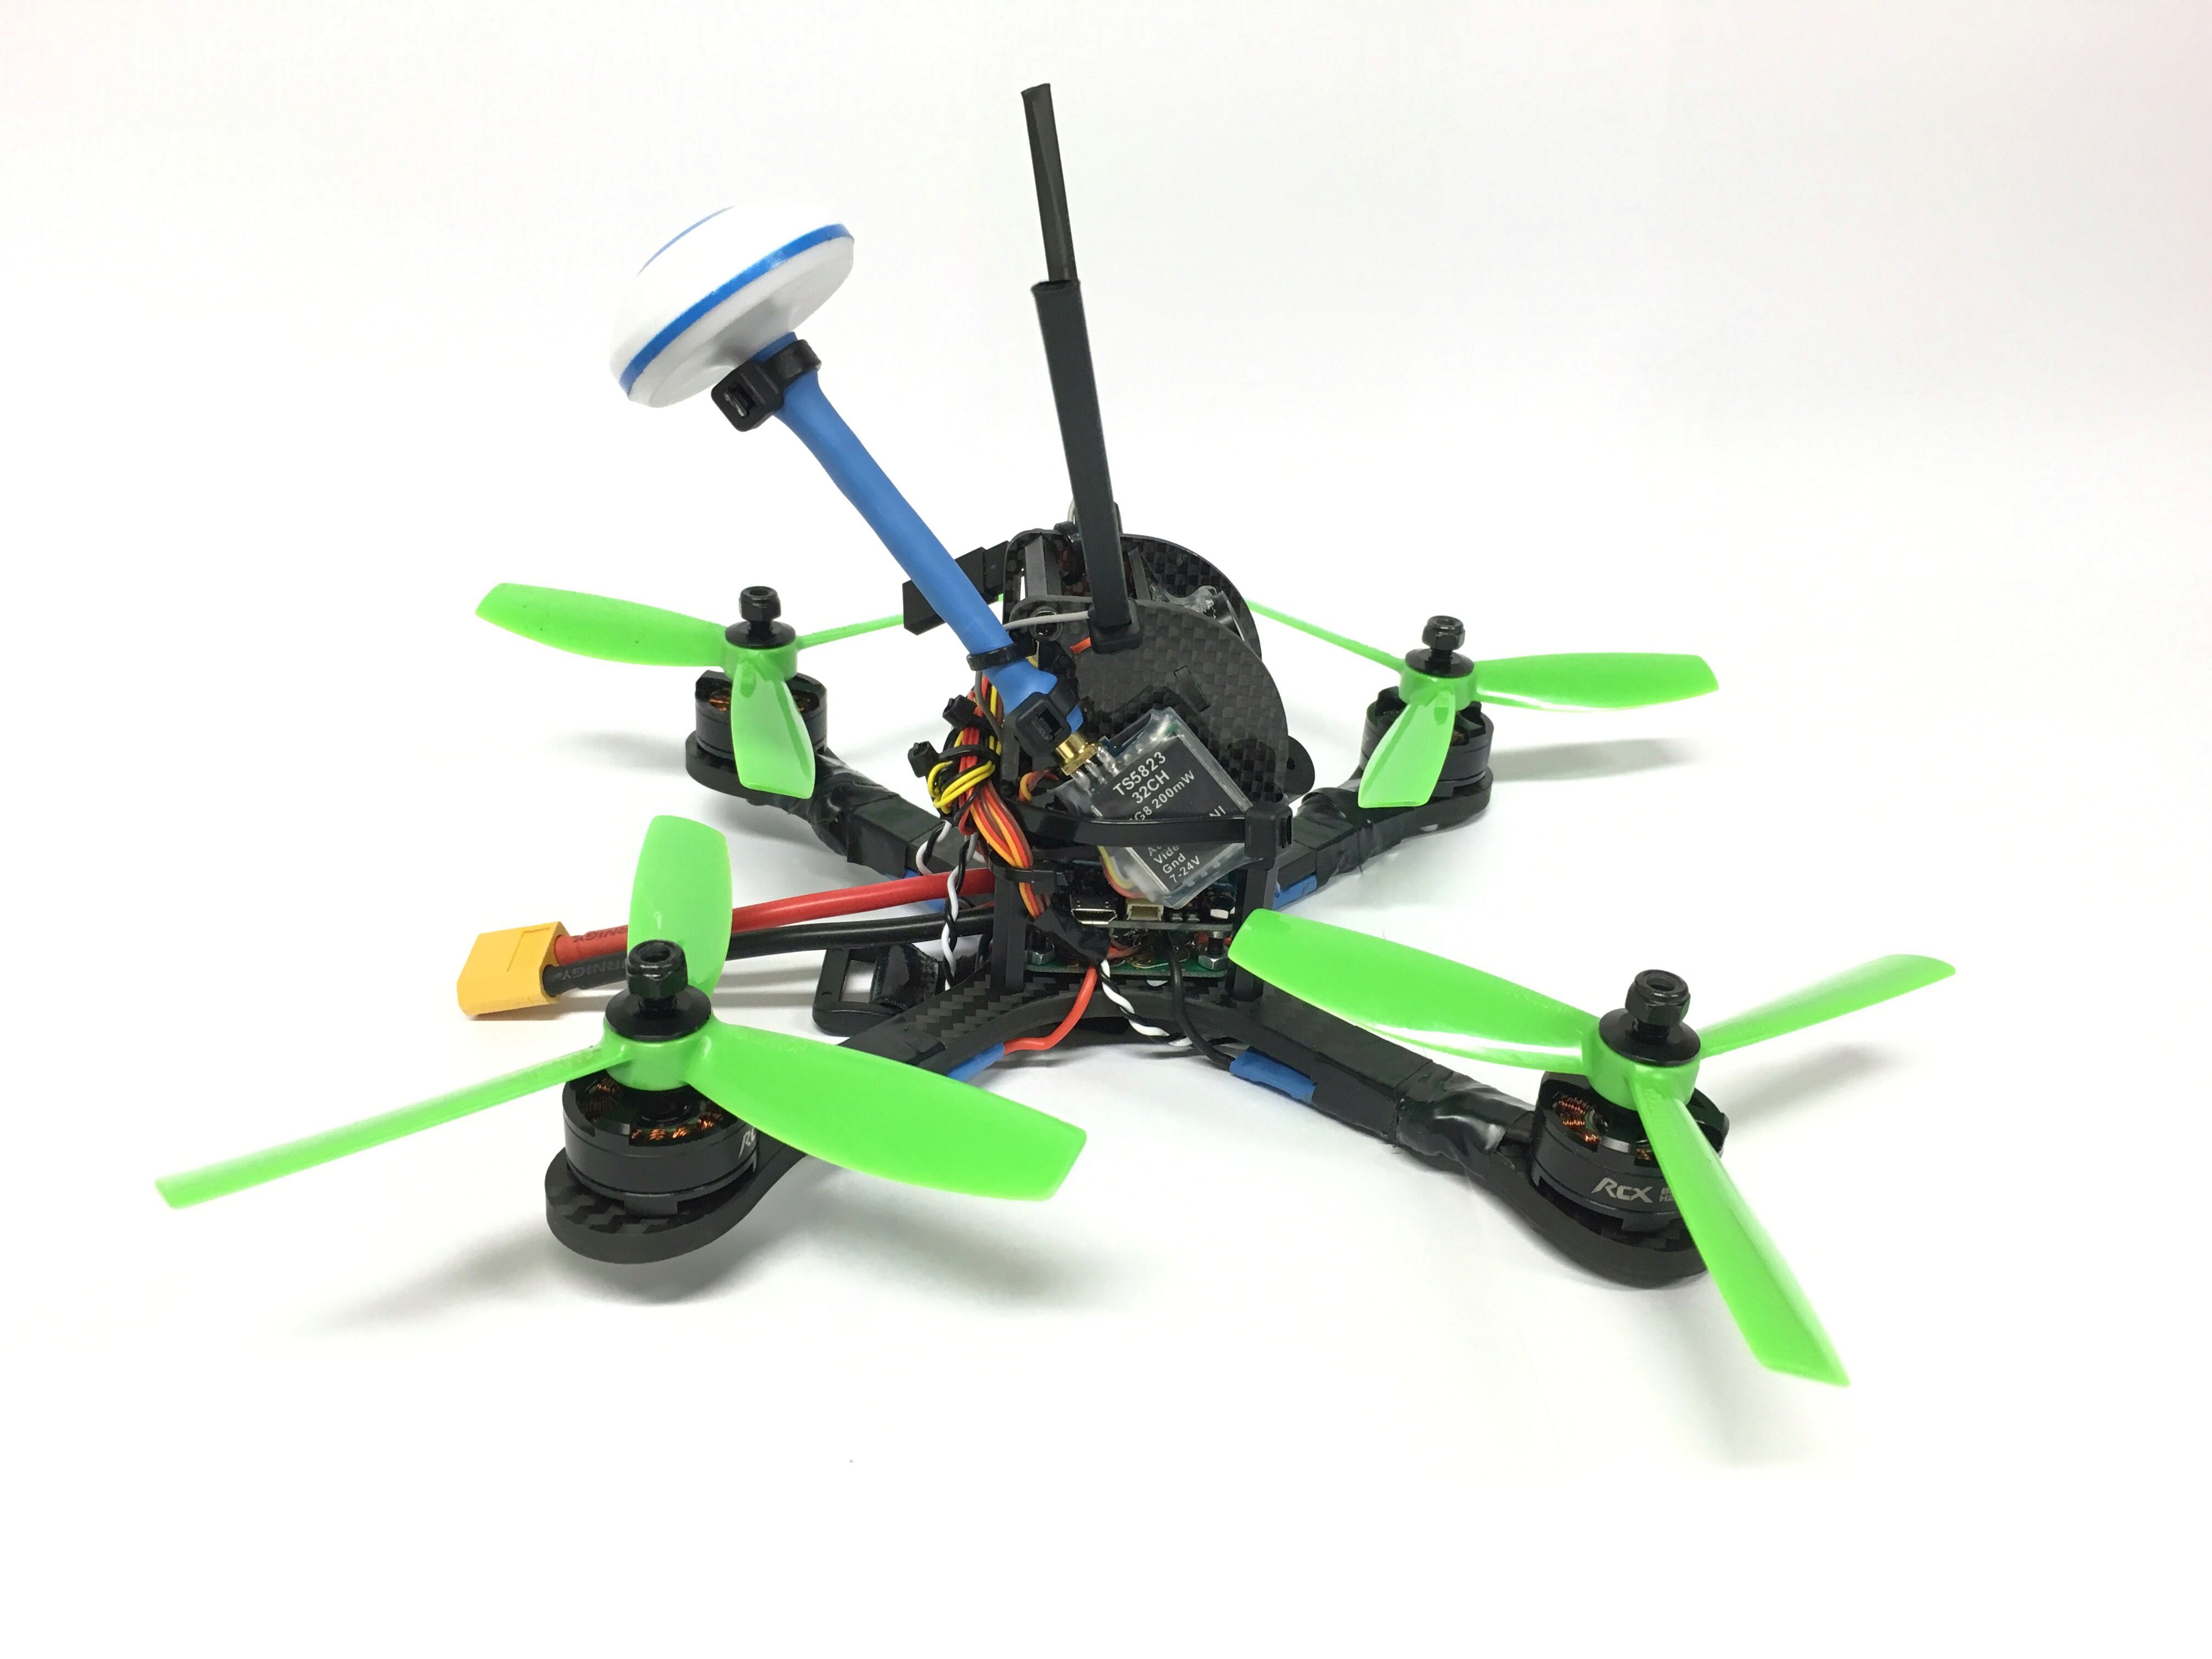
Used Dalprop 3-blade 5″ on maiden. Didn’t notice any massive differnce to my Sunnysky 2204-setups except the overall sound seemed more even and much more smoother. Maybe this is because of the pro-version of little bee ESCs? (higher PWM frequency?)
I got 6 minutes flight time (with semi-hard acro’ing) on 1800mAh battery. No flight time difference. Motors (RCX 2205) and ESCs (littlebee 20A pro) were not warm at all, almost totally cool.
Control
I really have to admit that I couldn’t notice any difference now when I flew on sbus compared to CPPM. Experts say there is a day-night difference but I doubt it a little. No difference on my skills.
Boris changed the expo functionality between 2.7.0 – 2.8. Dunno if I’m really satisfied with it. Maybe I liked more 2.7.0 expo style. I was flying with rcrate 1.0 and r&p rates to 0.9 and the flip was quite aggressive with super expo. Not that I couldn’t handle it, but it had a really “switchy” feel, like on/off command style. I probably like more linear style than this way.
To be fixed
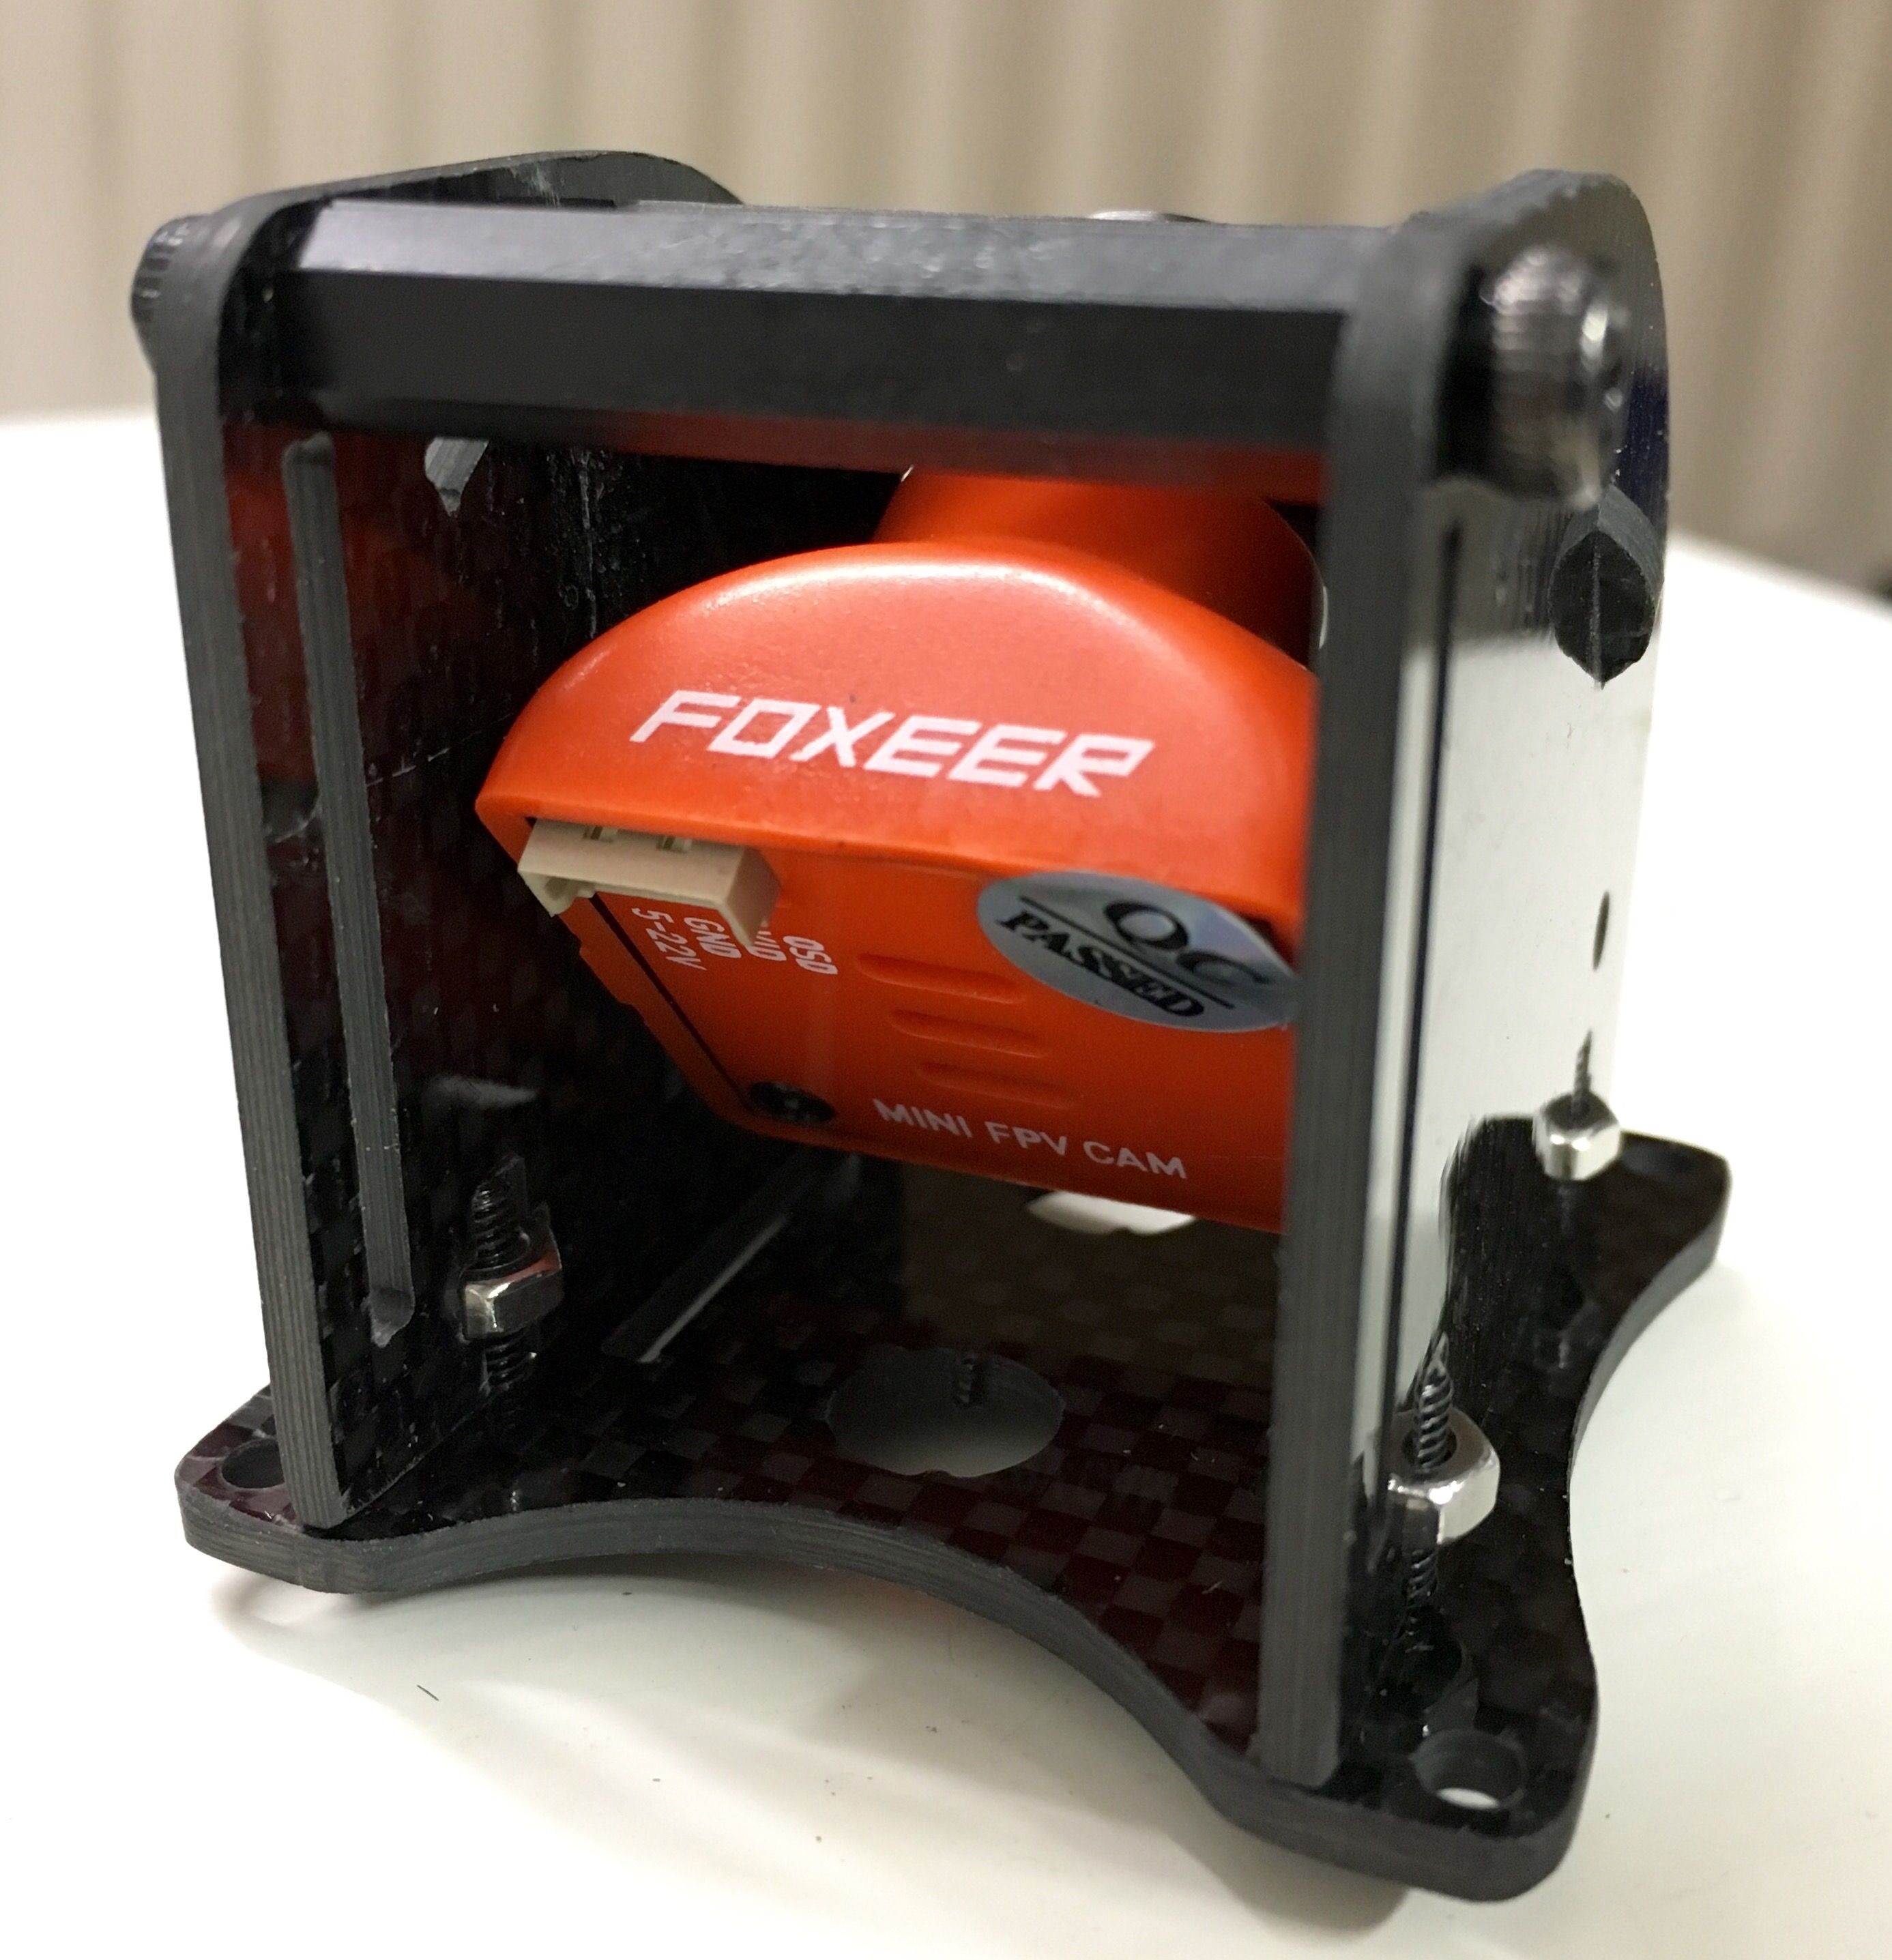
Foxeer camera picture is really crappy by default. Need to modify the shipped joystick-cable to get access to video + controls same time. Some lines across the picture, probably because now I need to use a switching regulator because the littlebee’s fry the camera otherwise. Must test with capacitor.
Some little twitching on the flight performance and definely clear propwash effect (running BetaFlight/MOTOLAB 2.8.0 Jun 2 2016 / 09:48:00 (09f5c85)). Ideas: more gyro LPF, betaflight 2.7.0. Blackbox into use.
Problem solved: Motolab Cyclone FC was defect, the gyro made sudden glitches in-flight (no signs of these when motors not running). Changed a new Cyclone FC and it works flawlessly, no signs of glitches at any time.
Because of debugging I ended running on 500 looptime, oneshot125 and it feels the best racer I have had so far.
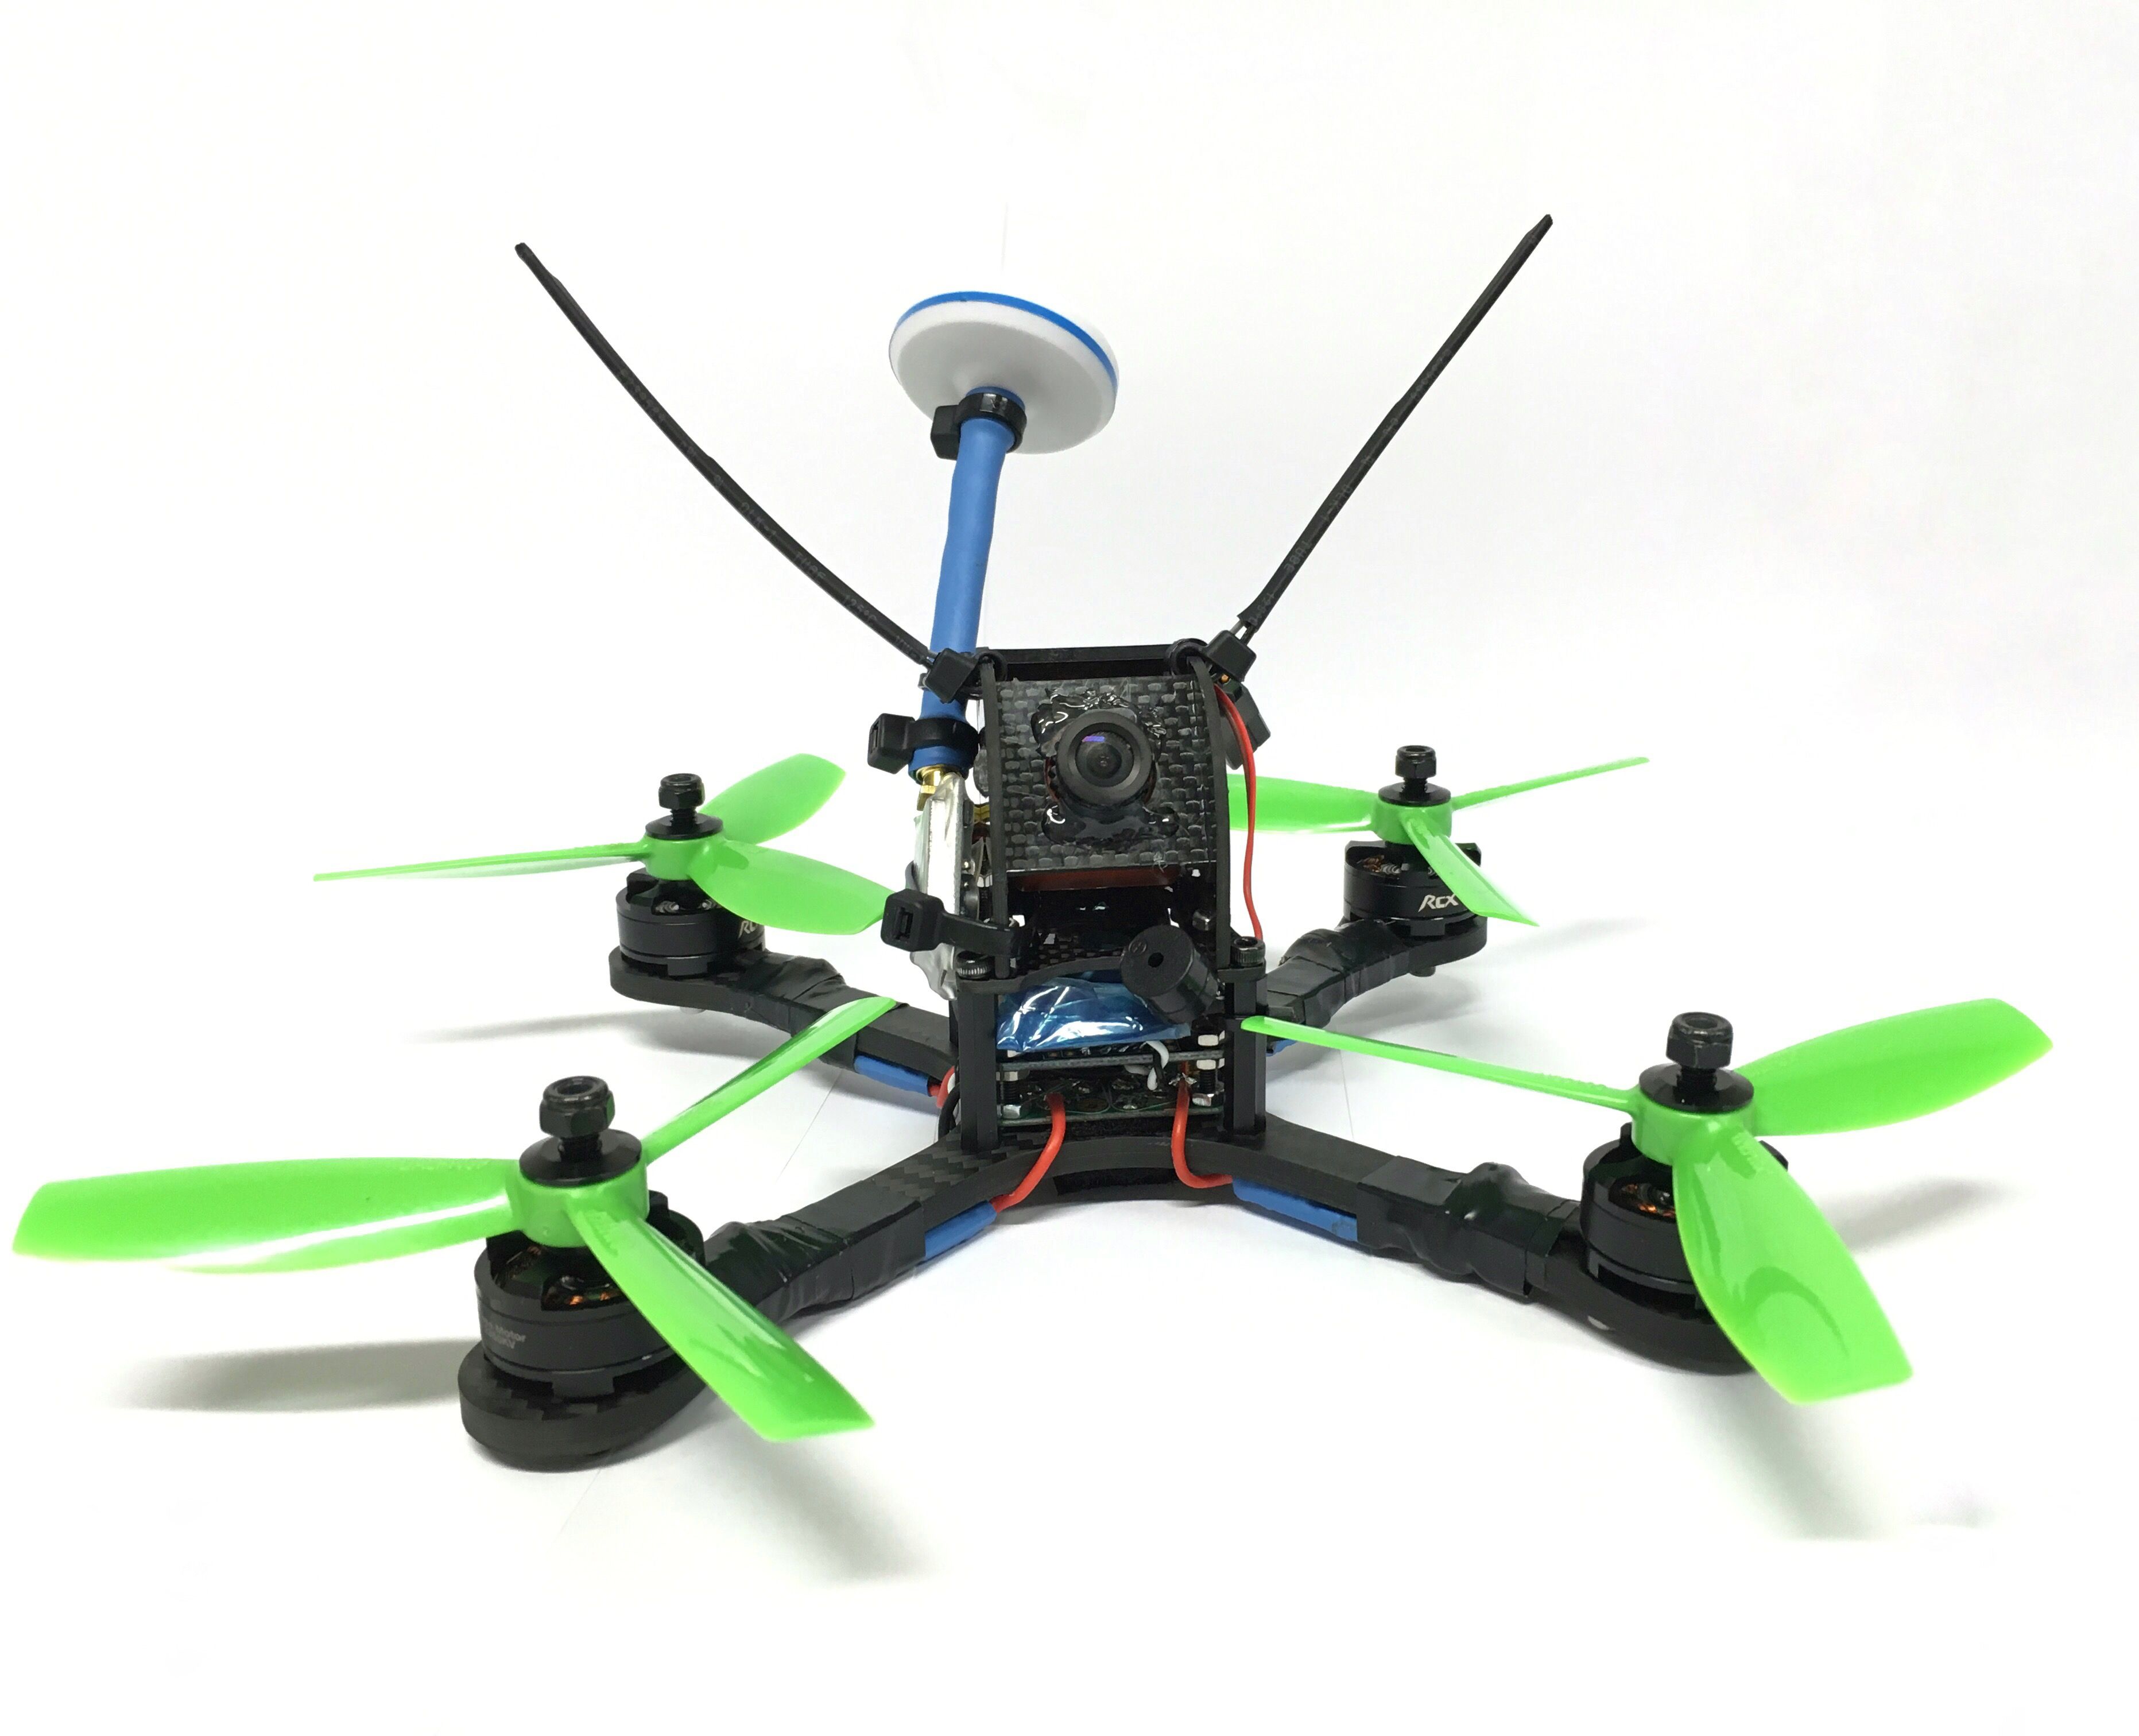
Camera angle
First tried with maybe 25-30 degrees angle but that’s too little to really use the power from this copter. 35 degrees is really close to correct. I don’t need to fly fast, but when I need to accelerate to another direction (after U-turn) the copter must tilt as much as needed and still I need to be able to see where I’m going.
My suggestions for camera angle are:

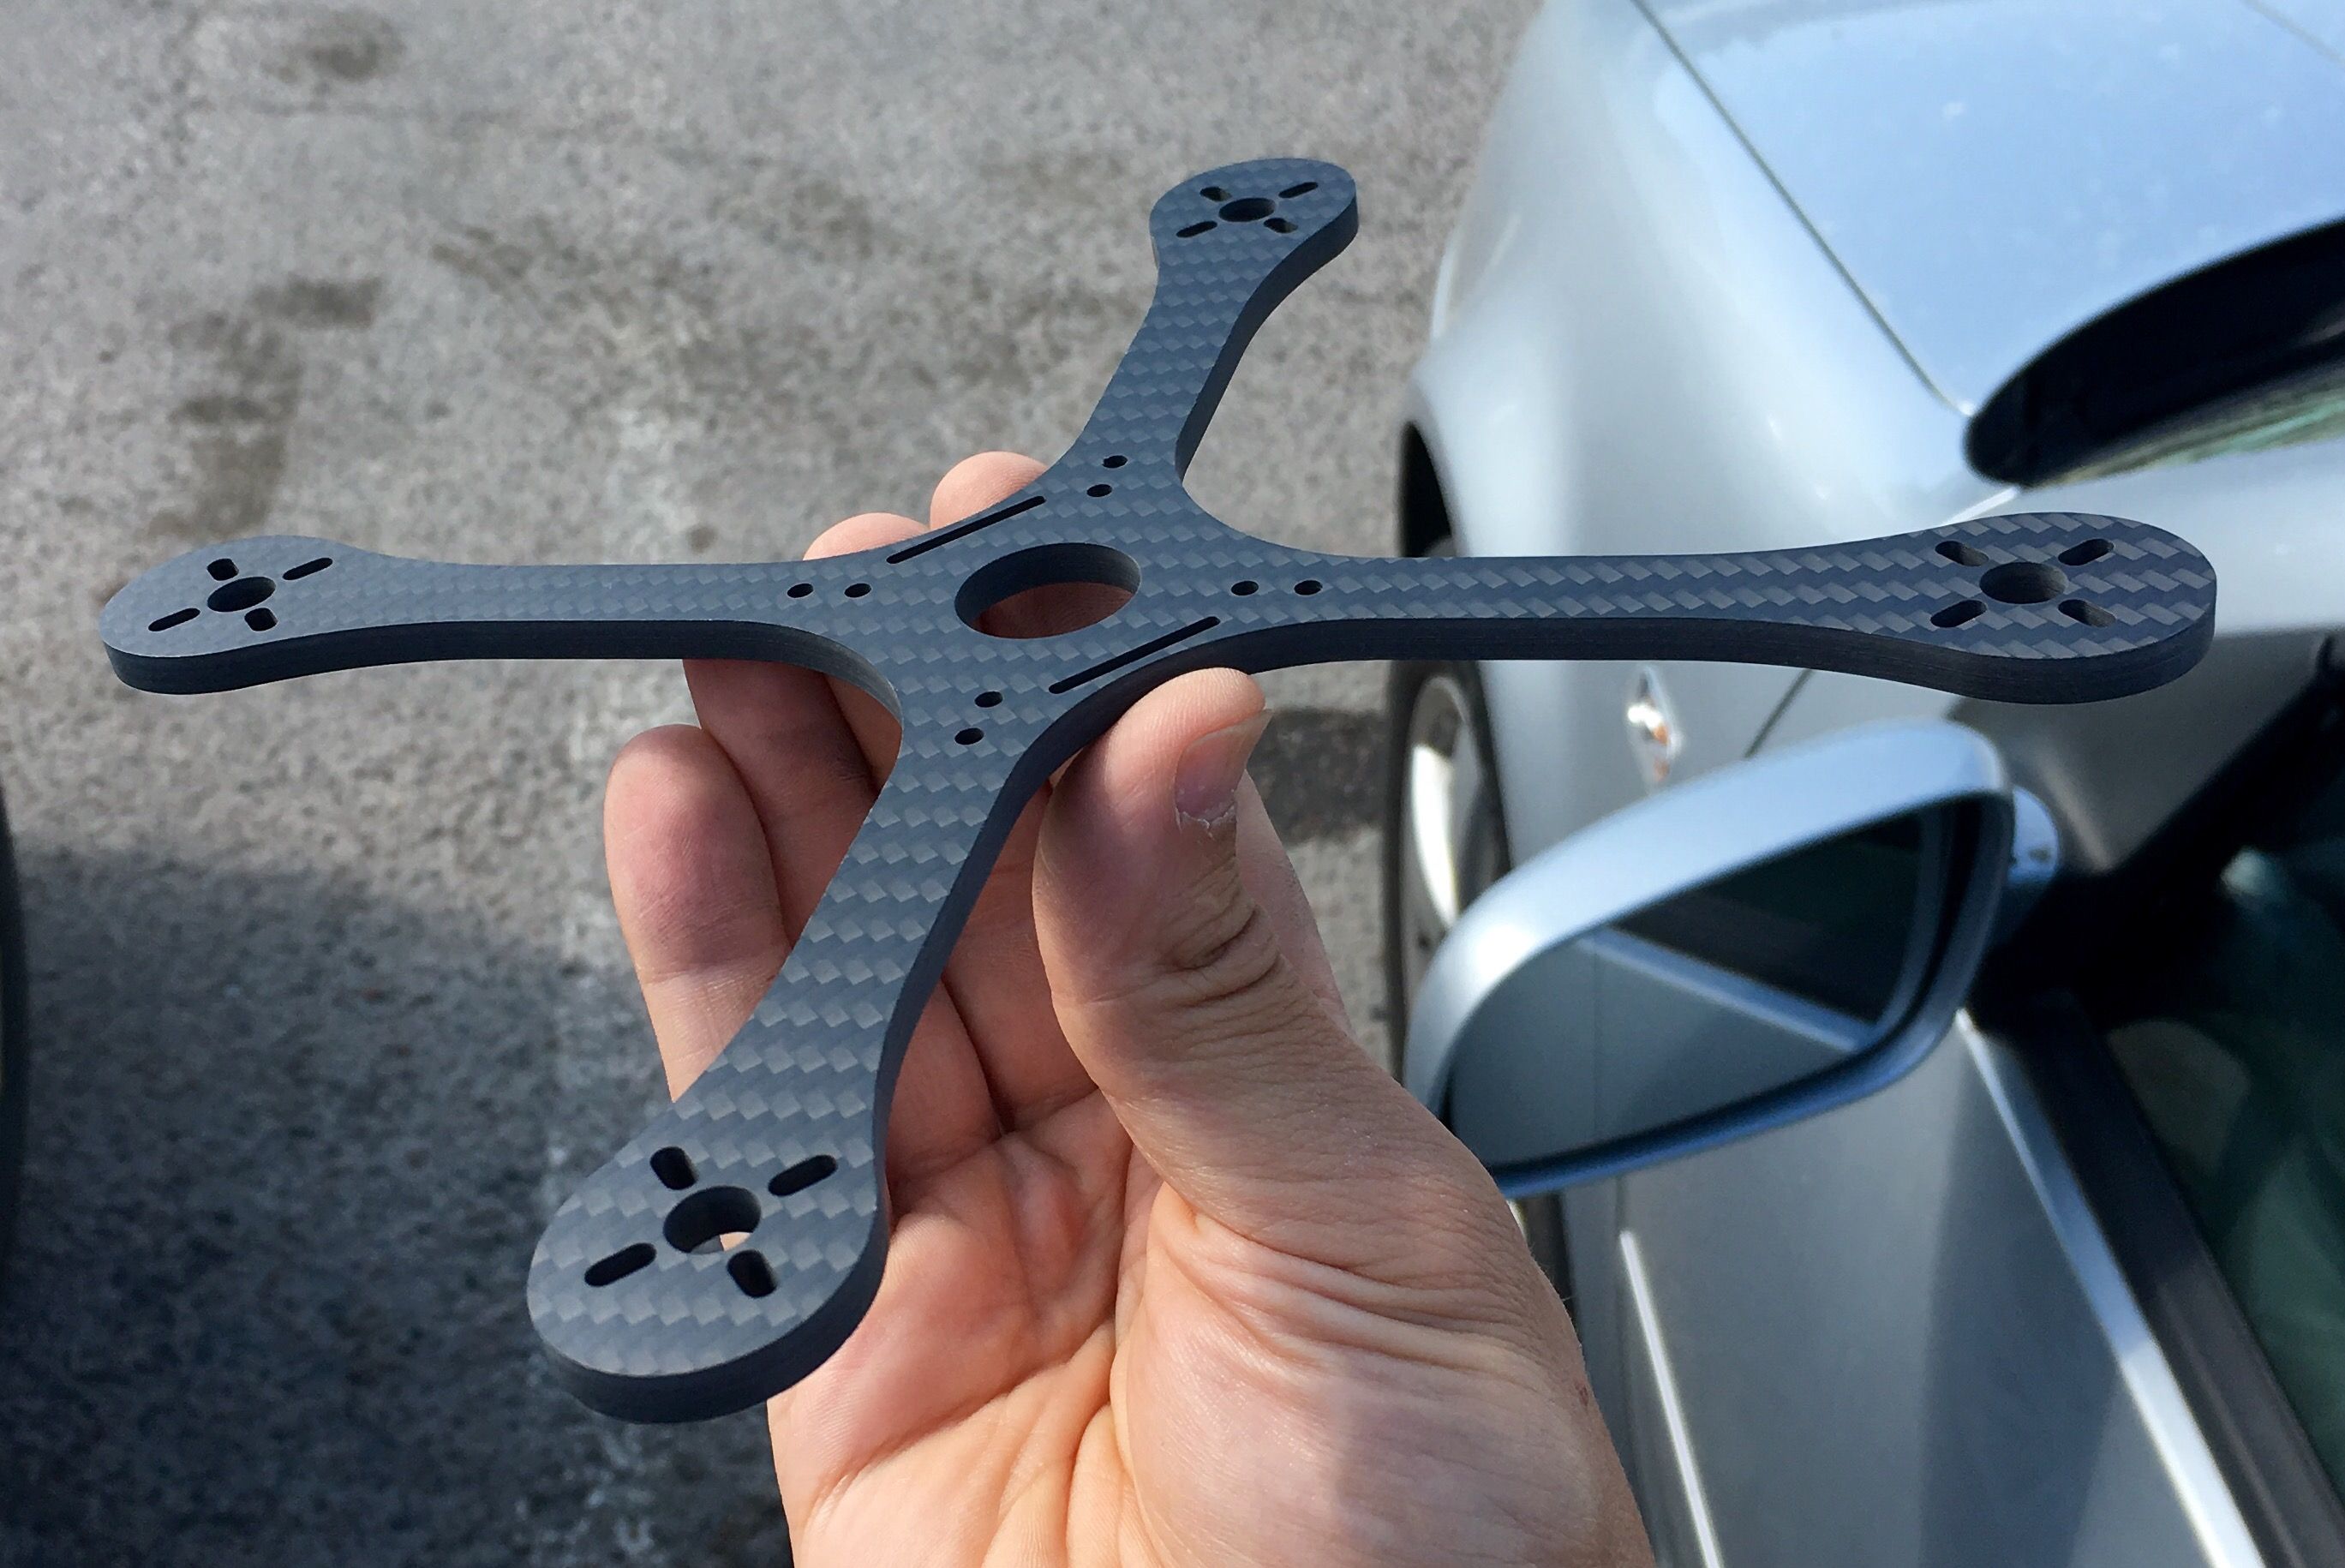
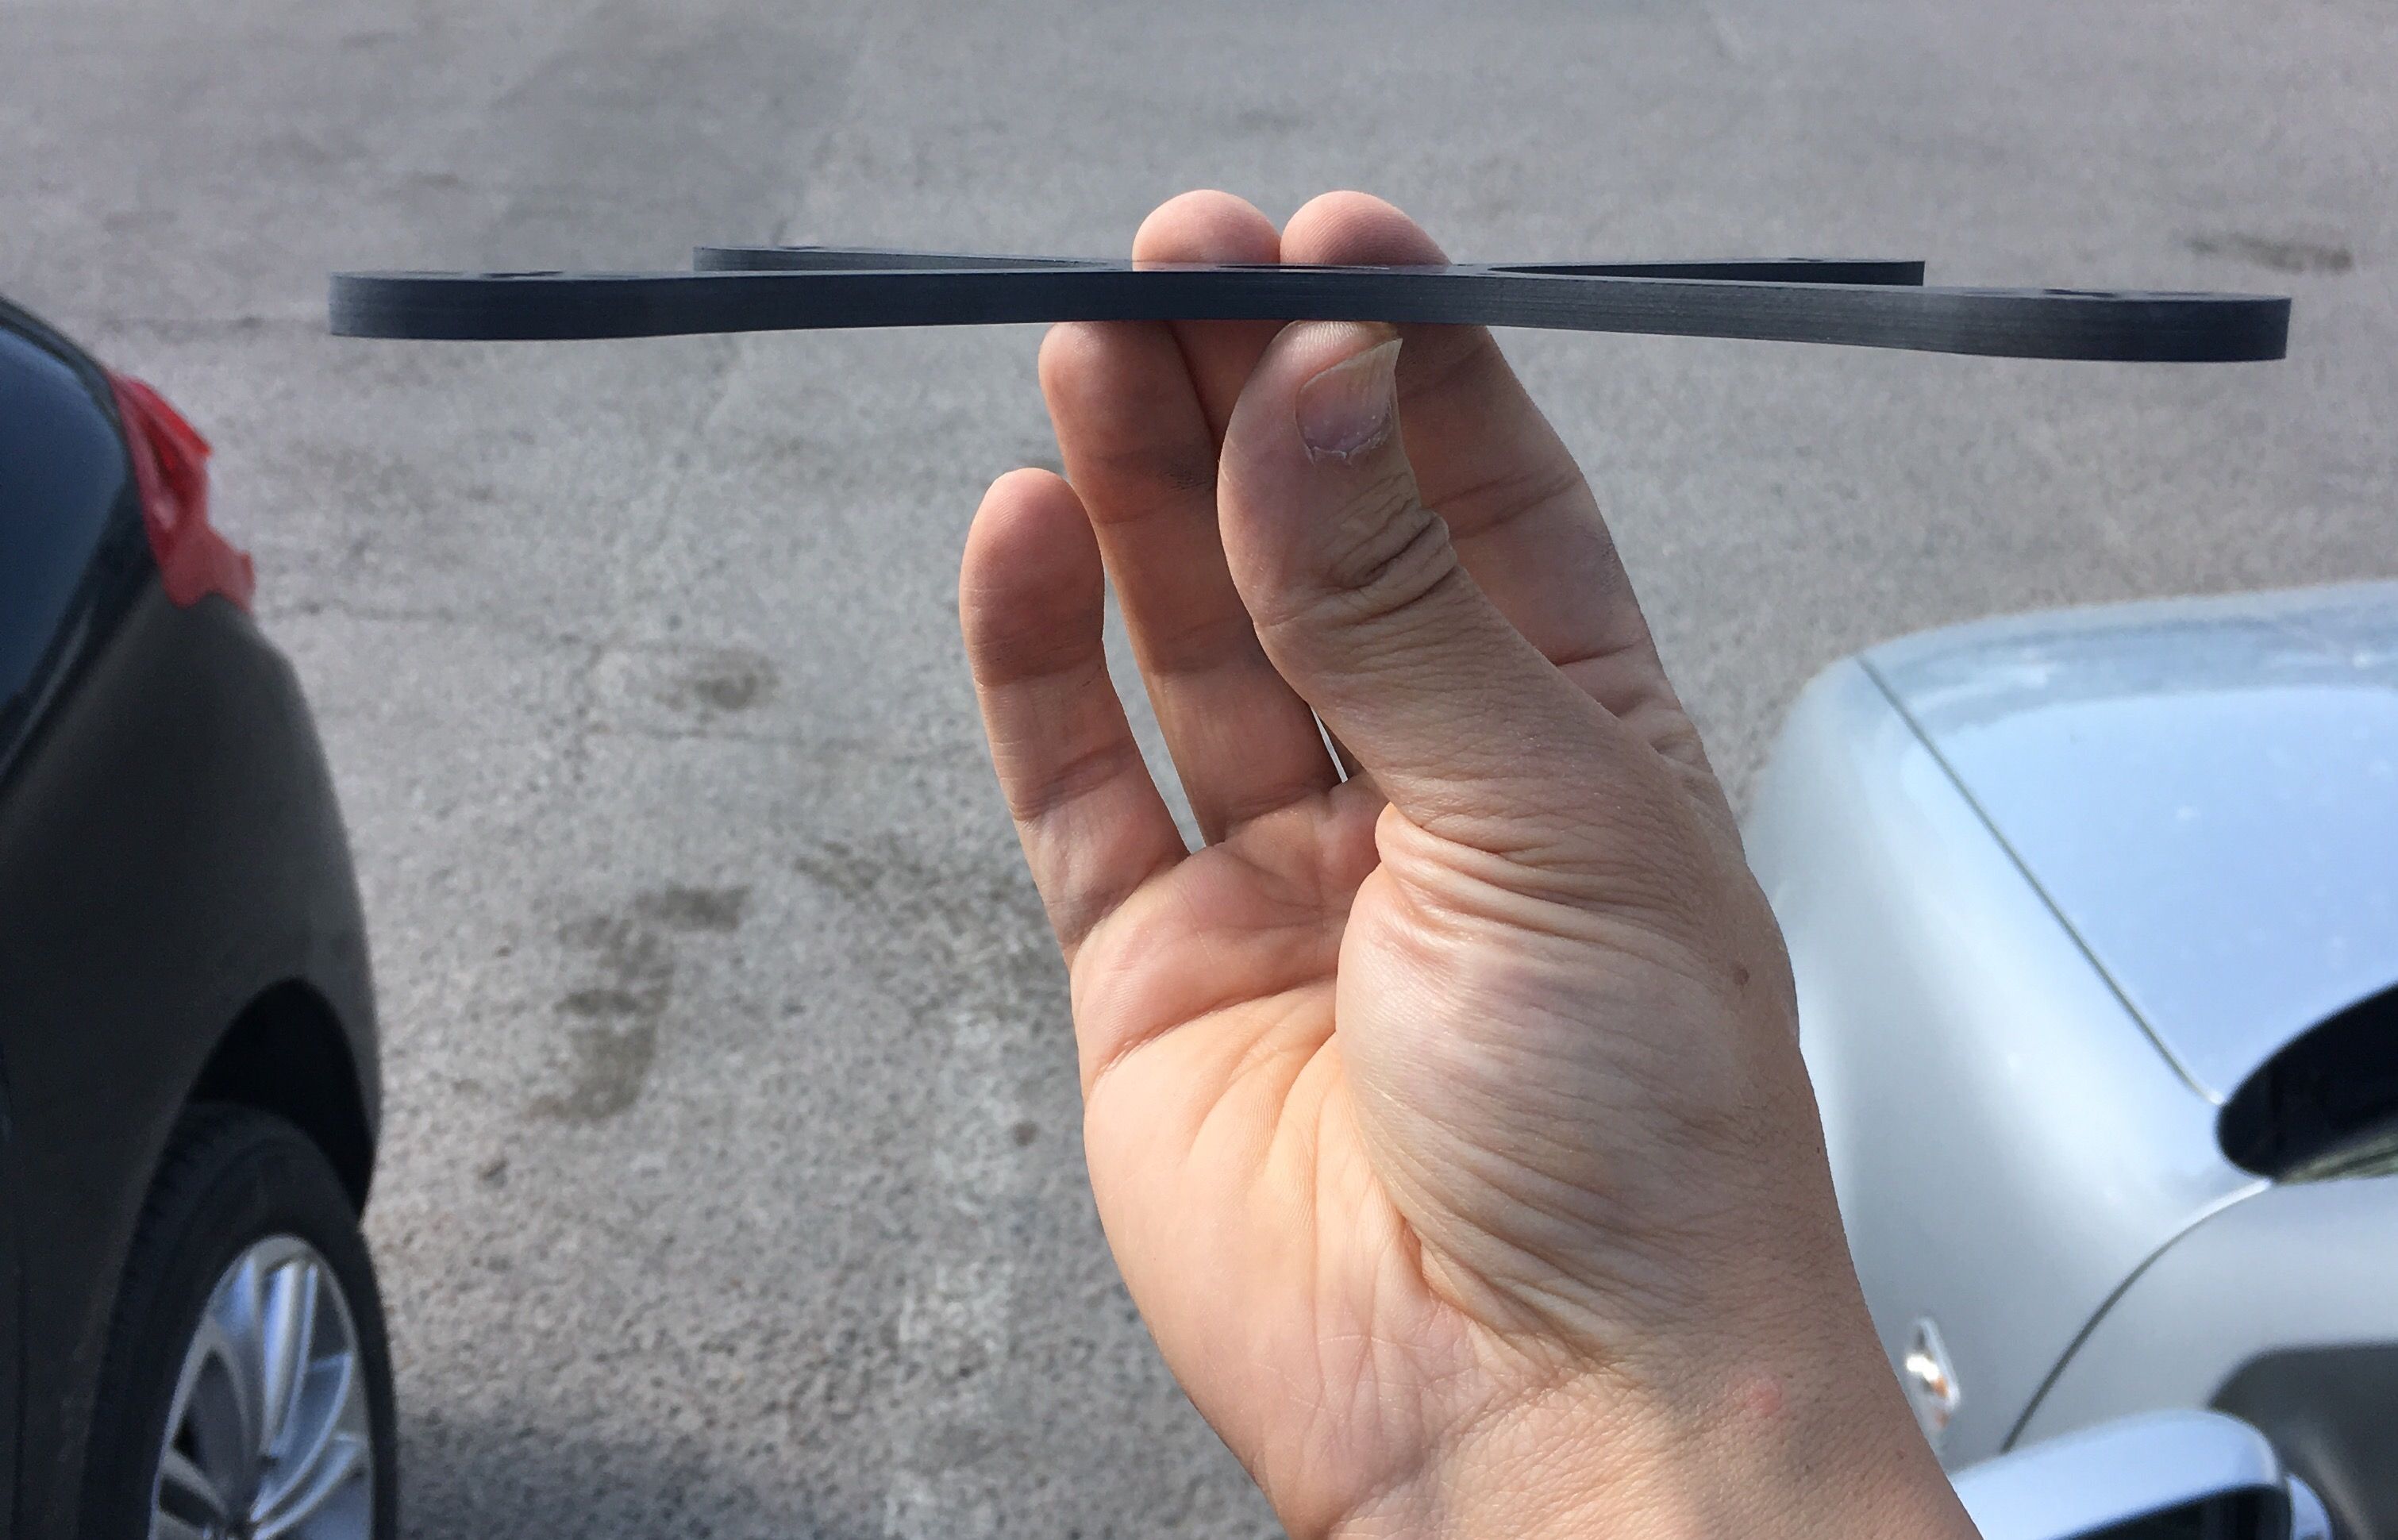
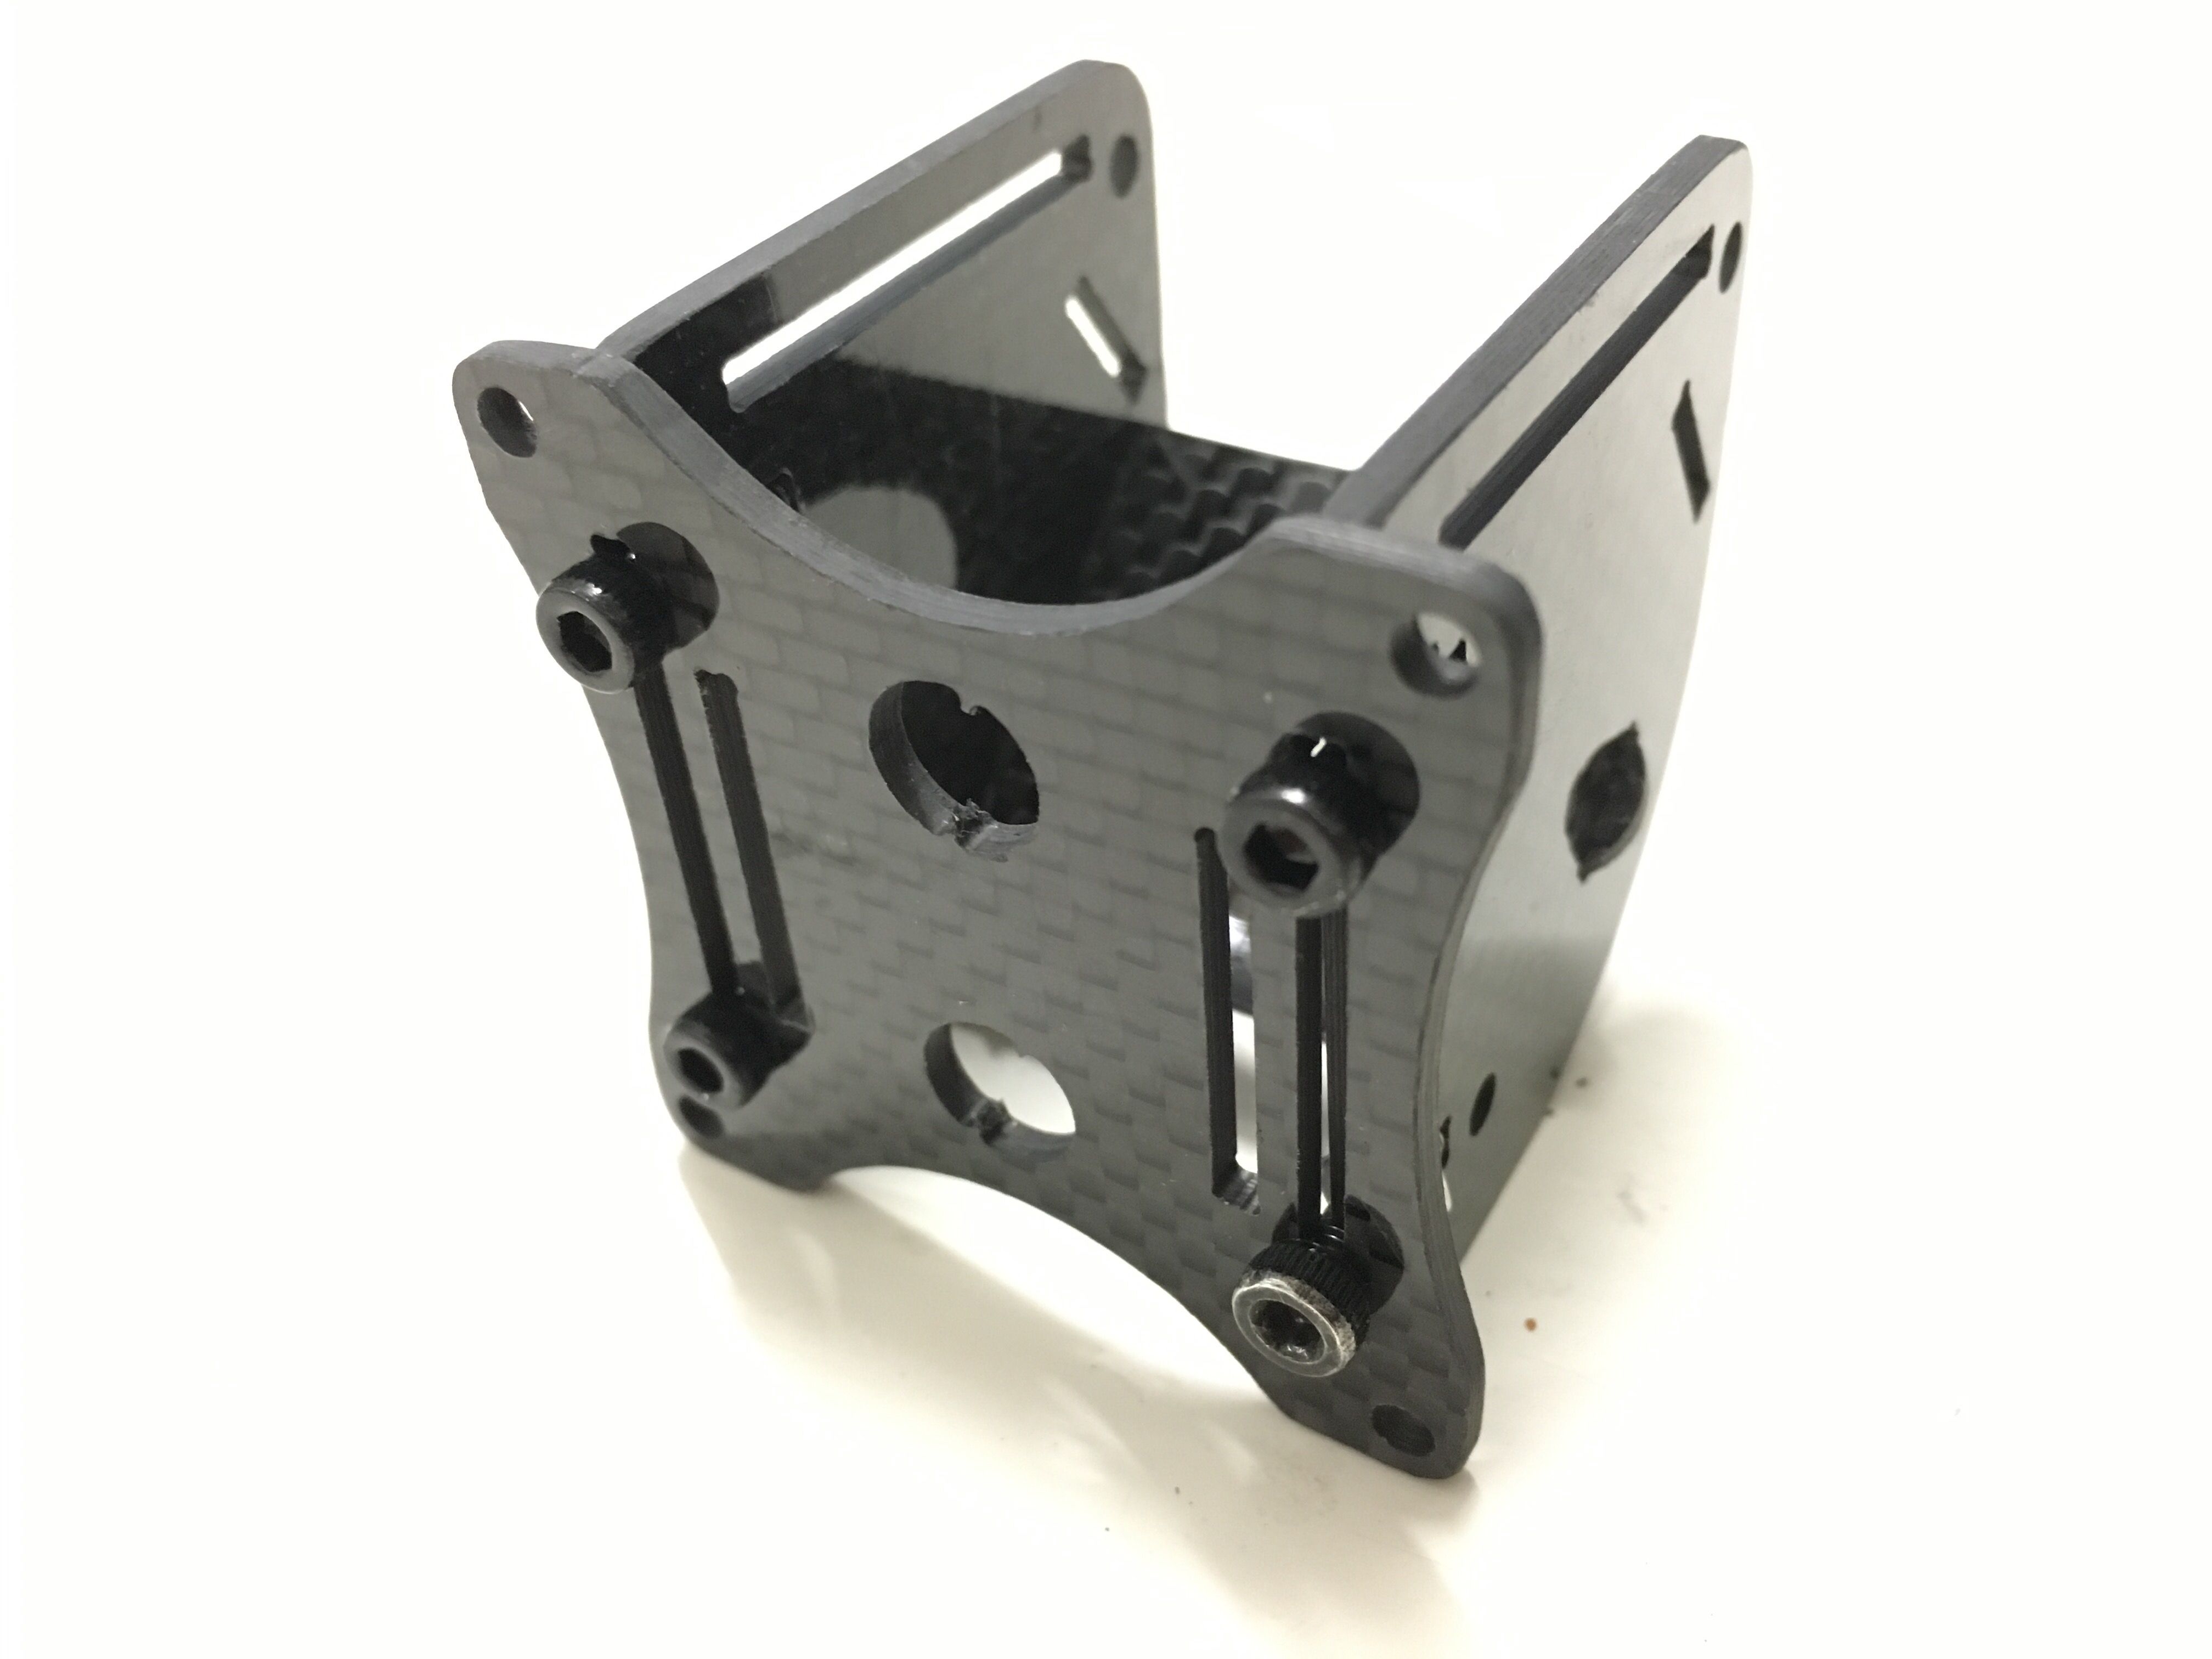
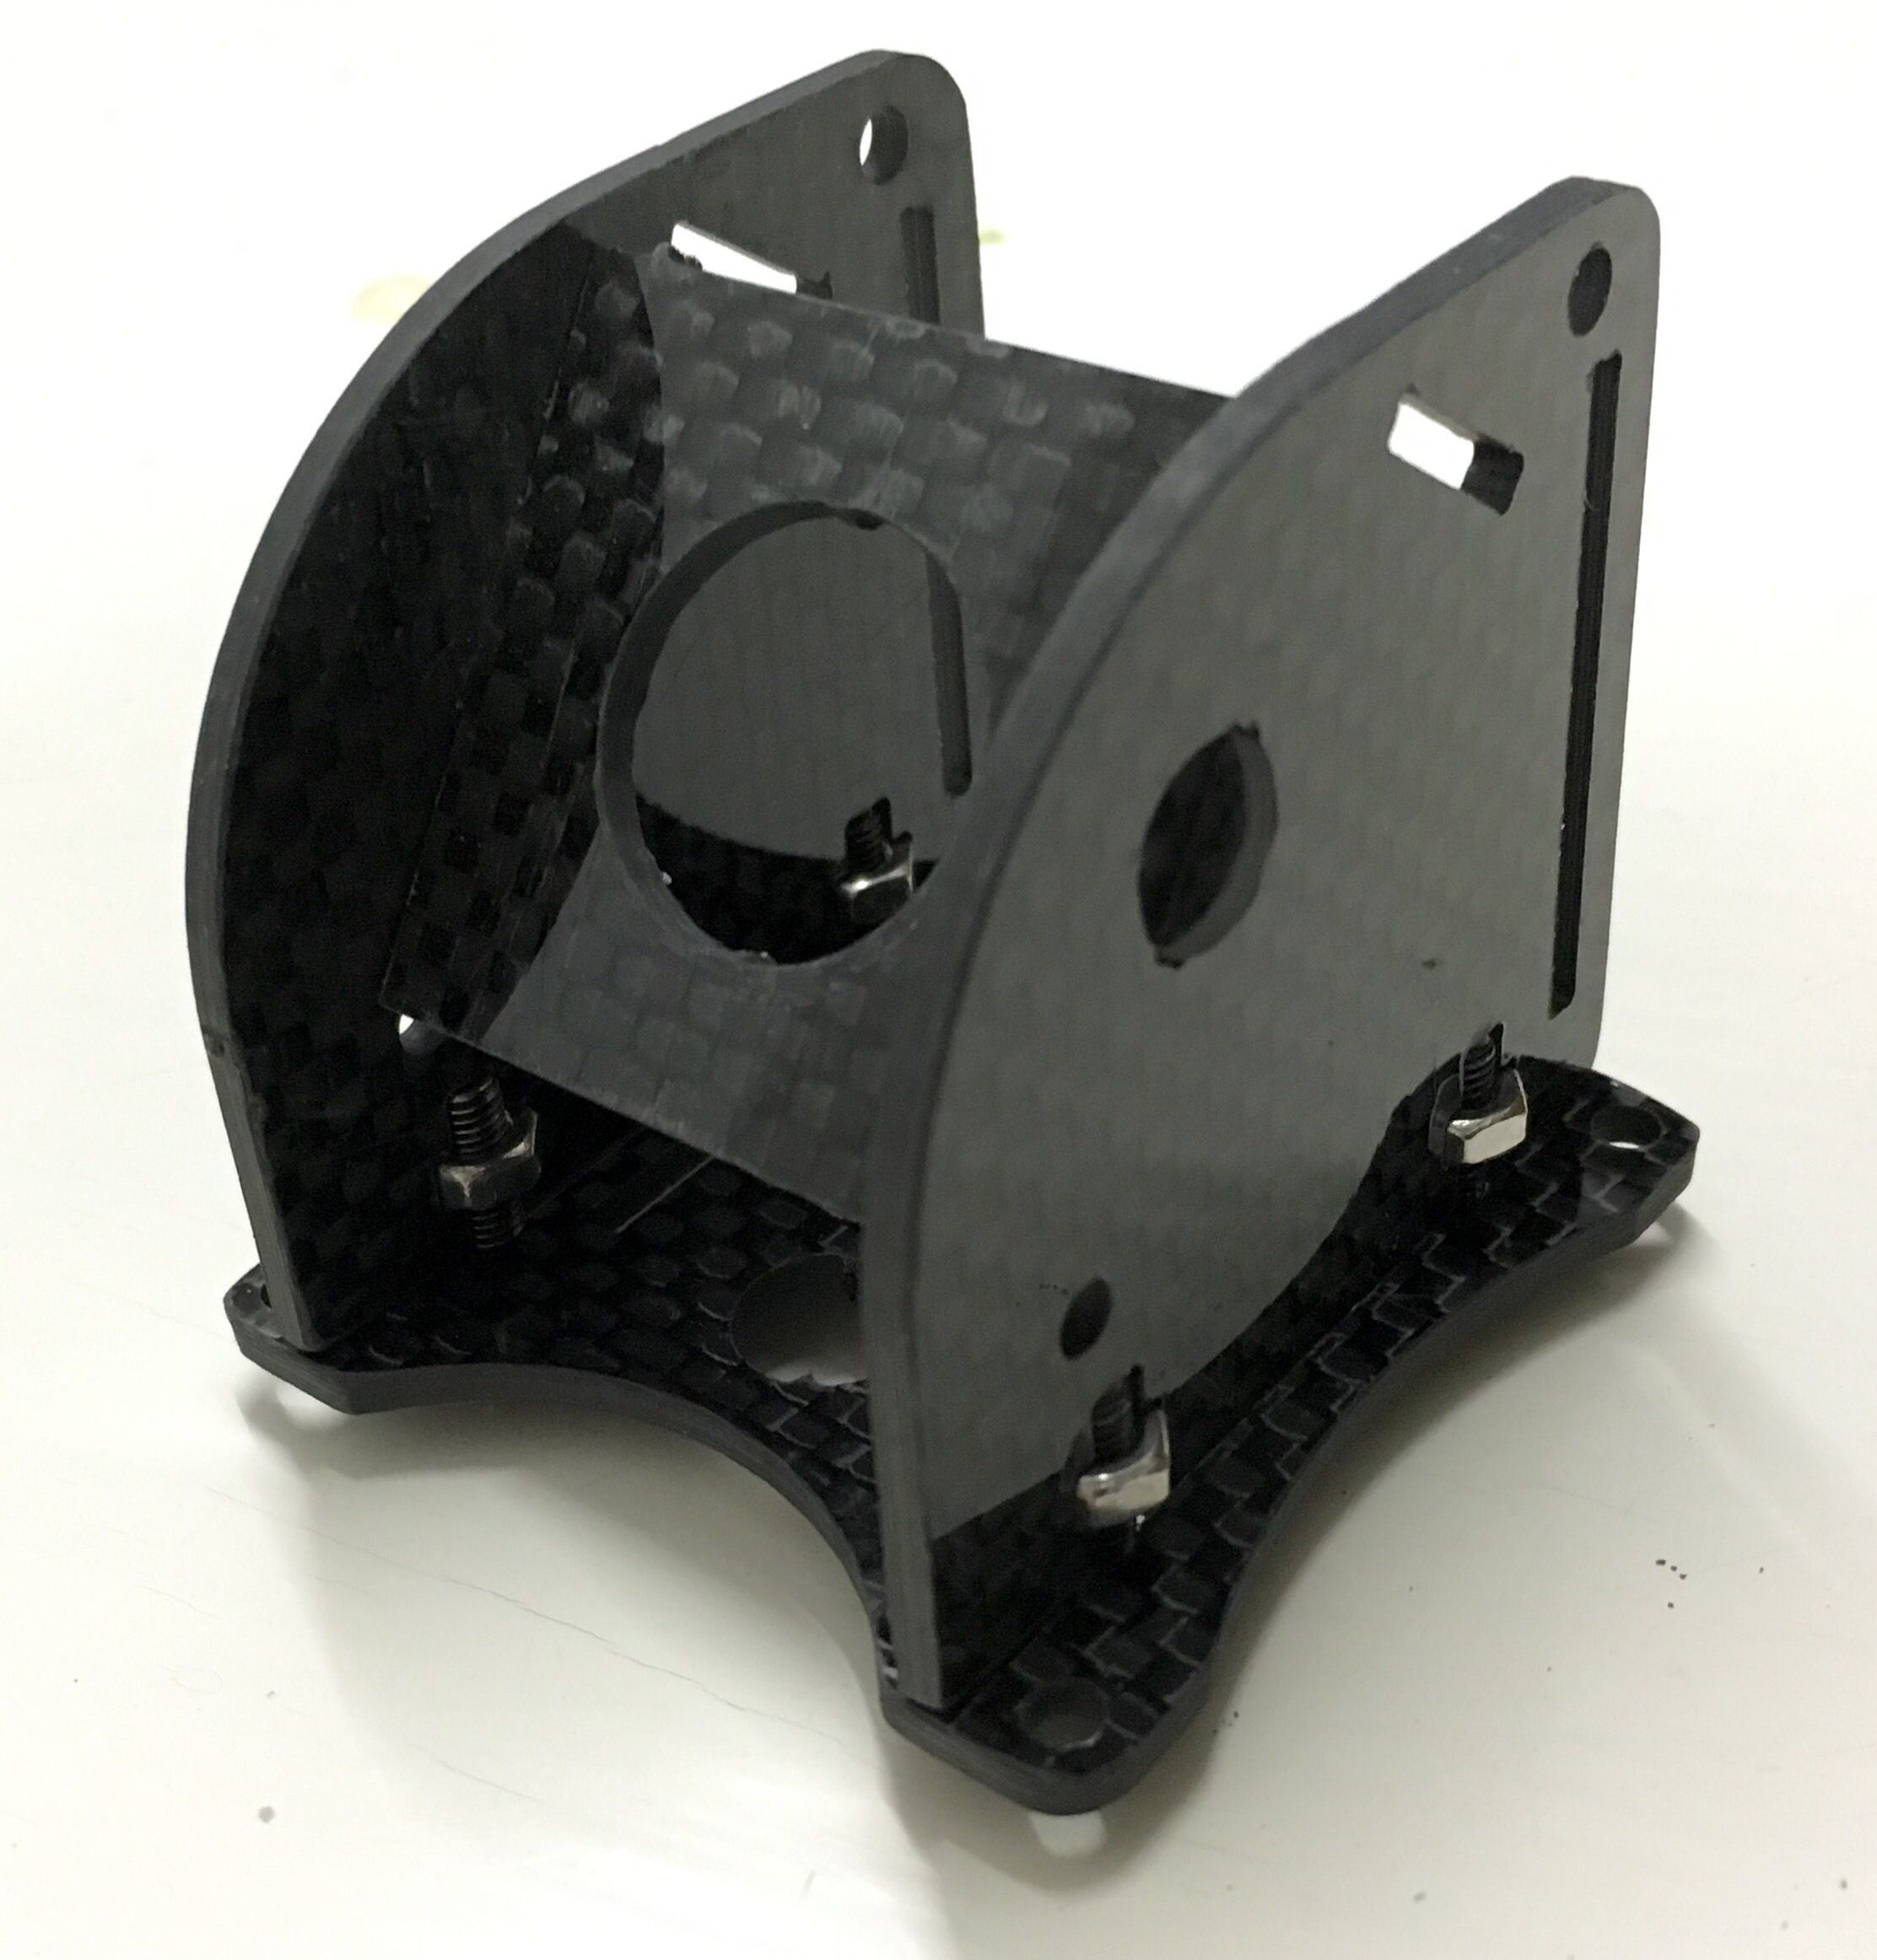
Bottom plate ordered from Armattan Productions (slooooow…):

Camera box at the top, milled with my CNC from 2mm carbon sheet:

Camera at 35 degree angle: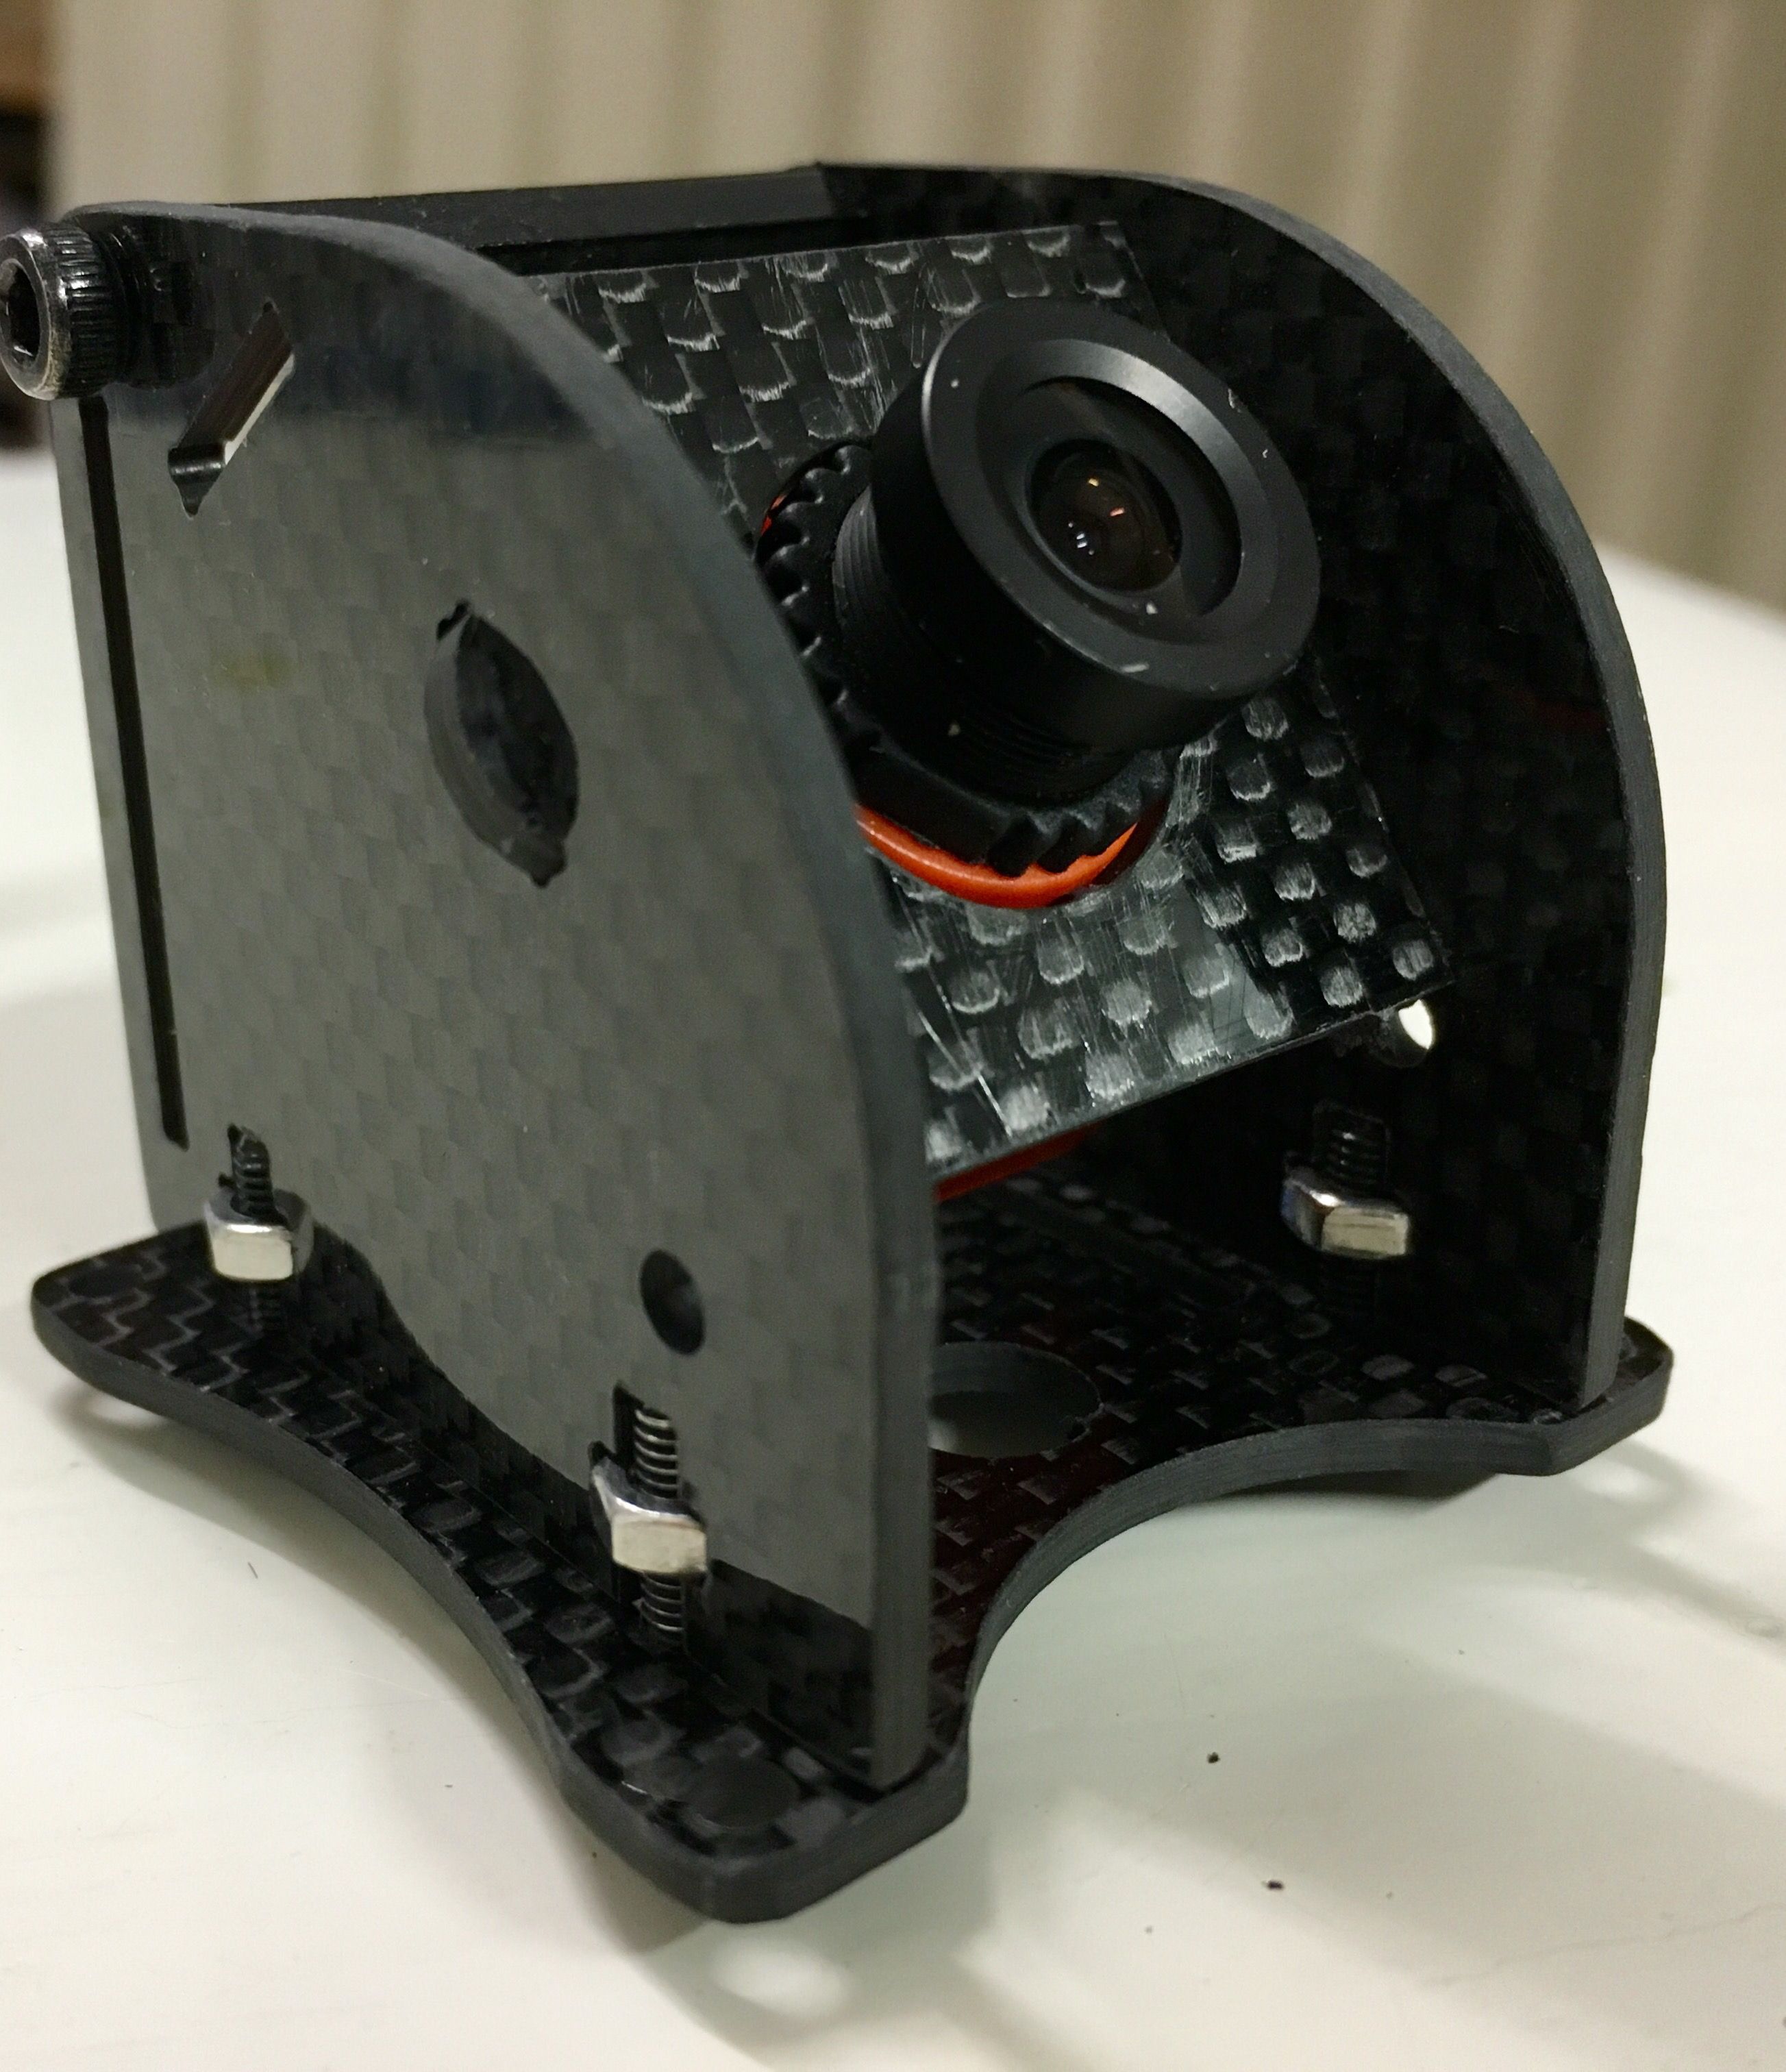
(still missing a mobius holder plate from the top.. maybe some day)
| Motor | RCX H2205 (V2) 2350KV Multirotor Outrunner Brushless Motor | Model: H2205-6 KV: 2350KV Weight: Approx. 24-25g (net weight included long AWG cables) AWG Cable: 15cm Prop Shaft Diameter: 5mm (CW) Stator Diameter: 22mm Stator Length: 5mm Shaft Diameter: 3mm Configuration: 12N14P Motor Dimensions: Φ26.6*15.3mm ldle Current: 0.79A @ 10V Internal Resistance: 0.109Ω |
| ESC | RCX 20A Pro (FVT Little Bee) Mini BLHeli Multirotor ESC | This is a Pro version released in April 2016. It has F39X MCU instead of F33X. So it support even higher RPM motor than before. Size in 24.5×12.5mm (Super Mini and Lightweight) Pre-Flashed with BLHeli Firmware V14. Oneshot125 Available – Faster communication between flight controller. Damped Mode Available It supports 2-4S with 20A continuous load and 30A peak (10 seconds) Bootloader Enabled – you can flash new firmware and configure settings via USB using the servo cable. |
| FC | MotoLab Cyclone | The Cyclone uses the STM32F3 CPU withARM-Cortex M4 core and floating-point coprocessor for more efficient execution of fast looptime control algorithms, along with the low-noise MPU-6000 SPI-bus gyro chip for faster acquisition of gyro data.This board is compatible with the recent revisions of Betaflight firmware, using the betaflight_MOTOLAB target files. The PWM outputs are bidirectional, and the board is compatible with BLHeli ESC passthrough programming using an external CP2102 USB-to-serial converter connected to UART 1.
The design also provides: An on-board 600mA switching regulator for direct connection to lipos up to 4S, or up to 6S with power filtering. USB interface independent of UART channels. Three hardware UARTs. The UART 2 TxD signal is also pinned out to a connector. Reverse current protection on lipo and USB inputs for problem-free ESC calibration. Dedicated serial LED output with lipo voltage and GND. On-board buzzer driver with 5V and lipo voltage option. Built-in VBAT monitor with low-pass filter from lipo input. Built-in RSSI monitor with low-pass filter. Dedicated SAT receiver interface with 3.3v using JST connector for compatibility with Spektrum/LemonRC cables. Dedicated PPM and serial receiver interfaces with 5V power using 0.1″ headers. Compatibility with receivers using Spektrum 1024/2048, SBUS, SumD and SumH receivers with built-in inverter. High-quality gold plated 4-layer printed circuit board. Connector arrangement for convenient access to serial interfaces, with PWM and other device connections on sturdy through-hole pin headers. |
| Camera | Foxeer XAT600M DC5V-22V 600tvl Sony Super HAD CCD FPV Camera | lens:2.8 Connector position:top connector System:PAL Color:Orange Mode:IR sensitive |
Wait, what? You have a CNC machine and you ask someone else to mill your parts?
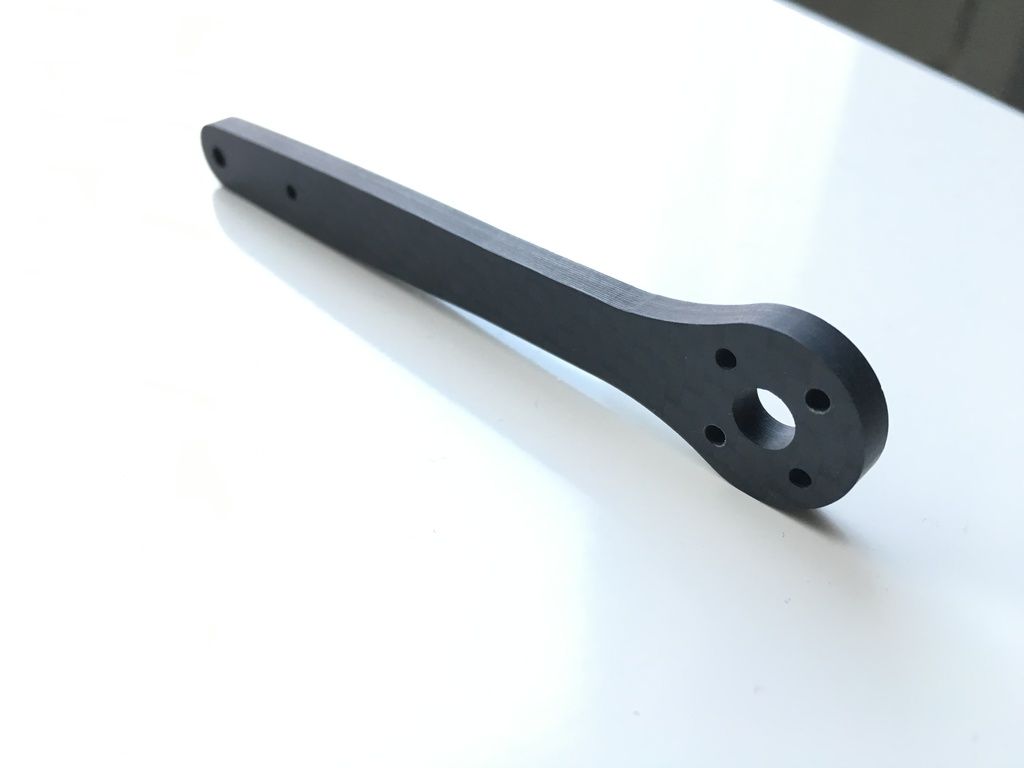
Yep. This is a replacement part for my akroquad milled at Armattan Productions.
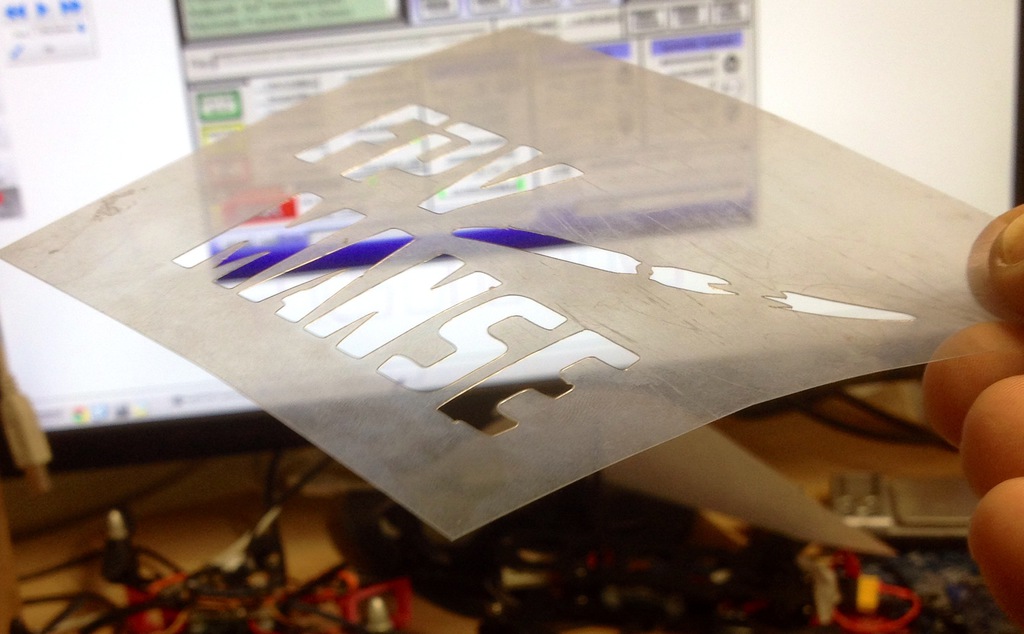
I combined my 3D printer and CNC mill and turned my 6040 CNC into a cutter. I designed and printed a Roland vinyl/sticker cutter blade holder. Search ebay for “roland blade holder” if the previous link is invalid. I published the .stl file for it, feel free to scroll down. To use this you need a 65mm spindle motor. The part where the adapter is attached is 49mm in dia.

First test to a paper:
And yes; first cut is the deepest! (and CNC guy takes it one step at at time..) After few adjustments and retries I got a decent stencil for some fabric prints (the logo is our FPV team’s logo).
I used just a sponge to tap the paint into the fabric (these are tube hats/scarfs/whatever). Not the best quality yet, but close enough! (next step, buy a silkscreen mesh)
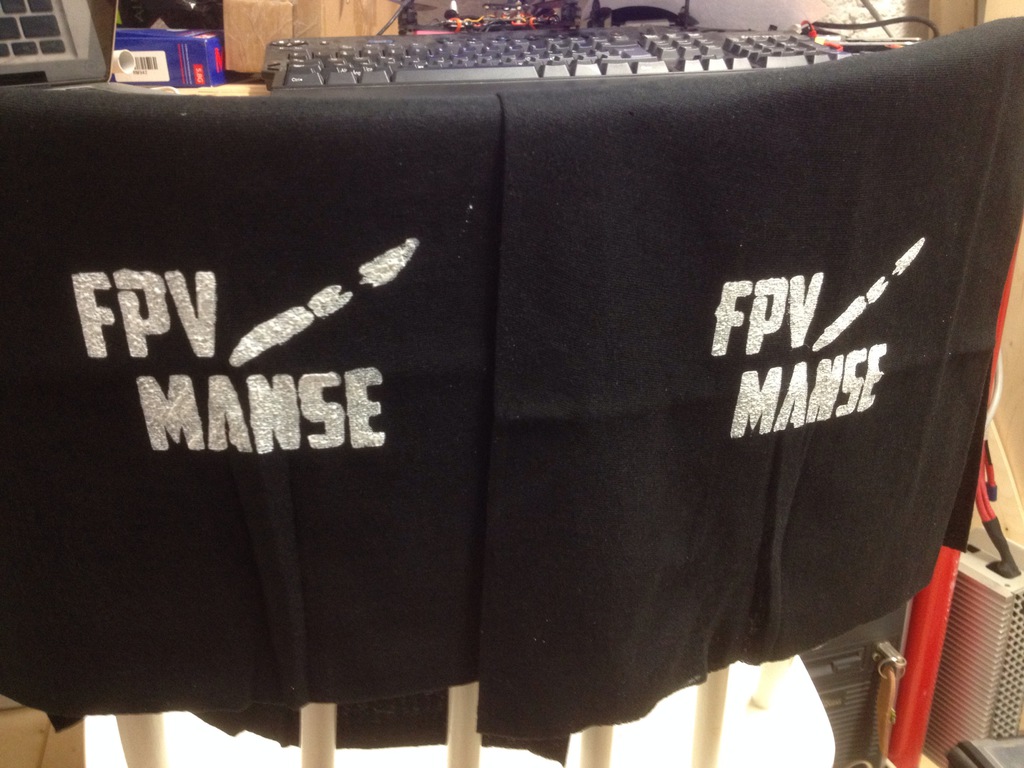
Nice one evening project!
Download the 3D model here: roland_blade_holder.stl
I’ve got best results milling the PCB with this kind of tools:
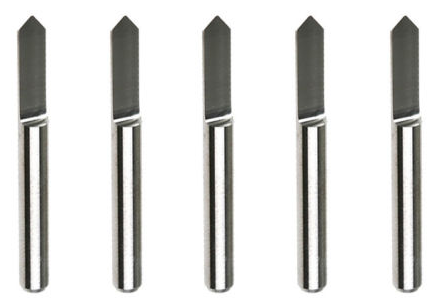
You can find them on ebay with words “Carbide PCB Engraving Bits CNC Router Tool 90 Degree 0.1mm”.
My settings for PCB-GCODE are:
| Depth | 0.1mm |
| Tool size | 0.25mm |

In eagle’s DRC / DRU I usually set the “sizes” tab “minimum width” to 0.8mm, but with carefull positioning of the clad I have achieved 0.4mm minimum widths.
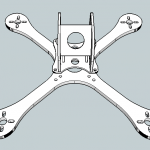
The L-shaped part.